
Learning how to upgrade your graphics card is one of the most important things that you can do as a computer builder. One of the highlights of PC gaming is the modularity, as soon as your aging video card starts slowing down, you can just replace it with one of the best graphics cards, upgrading your rig significantly.
With that said, there are quite a few things to go over before you upgrade your graphics card in your rig. Namely, you’ll want to know how to remove a graphics card from your machine safely, after you’ve learnt how to uninstall a graphics card driver, ready for the new one you’re slotting in. We’re going over everything you need to know further down the page.
Tools & Requirements
- A desktop PC
- A new graphics card
- A Phillips #2 screwdriver
- A suitable power supply unit (PSU)
- An internet connection
Quick steps for how to upgrade a graphics card
- Uninstall your current graphics card driver from the Device Manager
- Turn off your PC and unplug it from the wall outlet
- Unplug your old graphics card’s PCIe power connectors, lift the PCIe x16 latch, and carefully remove the GPU from the slot
- Plug in your new graphics card to your computer’s PCIe x16 port, lock the latch, and then plug the PCIe connectors in
- Screw the new graphics card down to the bracket
- Install your new graphics card’s drivers from the appropriate website/source
Upgrading a graphics card: Step-by-step guide
1. Uninstall your current graphics card’s drivers
Before you upgrade your graphics card, you’ll need to remove the current drivers so that they don’t cause any issues with your new GPU.
The easiest way to do this is to go to Device Manager, find ‘Display adapters’ from the drop-down list, and then right-click to ‘uninstall device’, which will leave things clear.
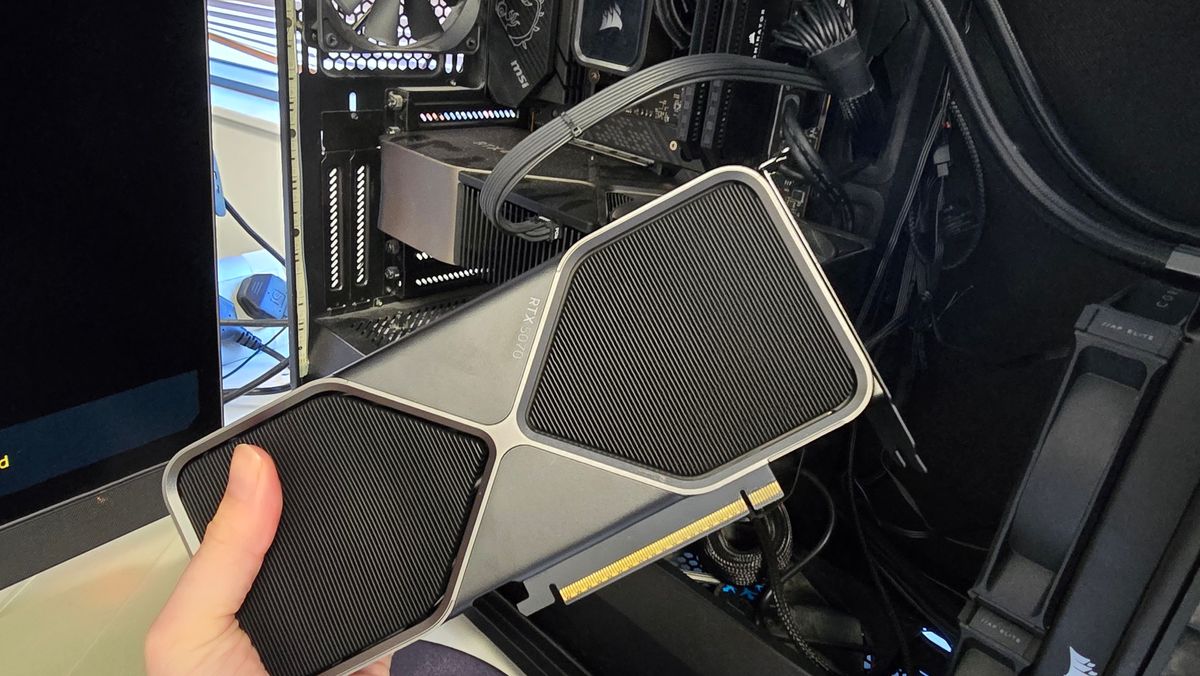
2. Remove your old graphics card
(Image: © Future)
With the old drivers uninstalled, turn off your computer either from the Start Menu or with the power button (if needed). With the computer shut off, disconnect all the cables in the back (as well as the top/front if needed).
Remove your PC case’s side panel, and then carefully unplug the PCIe connectors from the GPU. If it’s an AMD or Intel graphics card, it could have a single or two PCIe 8-pin connectors; an Nvidia GPU may have a 16-pin (or a 12-pin for the RTX 30 series) connector, which may need an adapter of up to four PCIe 8-pin connectors to accommodate.
Using a Phillips #1 screwdriver, unscrew the graphics card from the rear PCIe mount at the back of the case, keep a hand on the GPU to prevent sag, and then lift it off the PCIe x16 port with two hands, equally distributing the weight. Set it to one side and get ready for the next GPU.
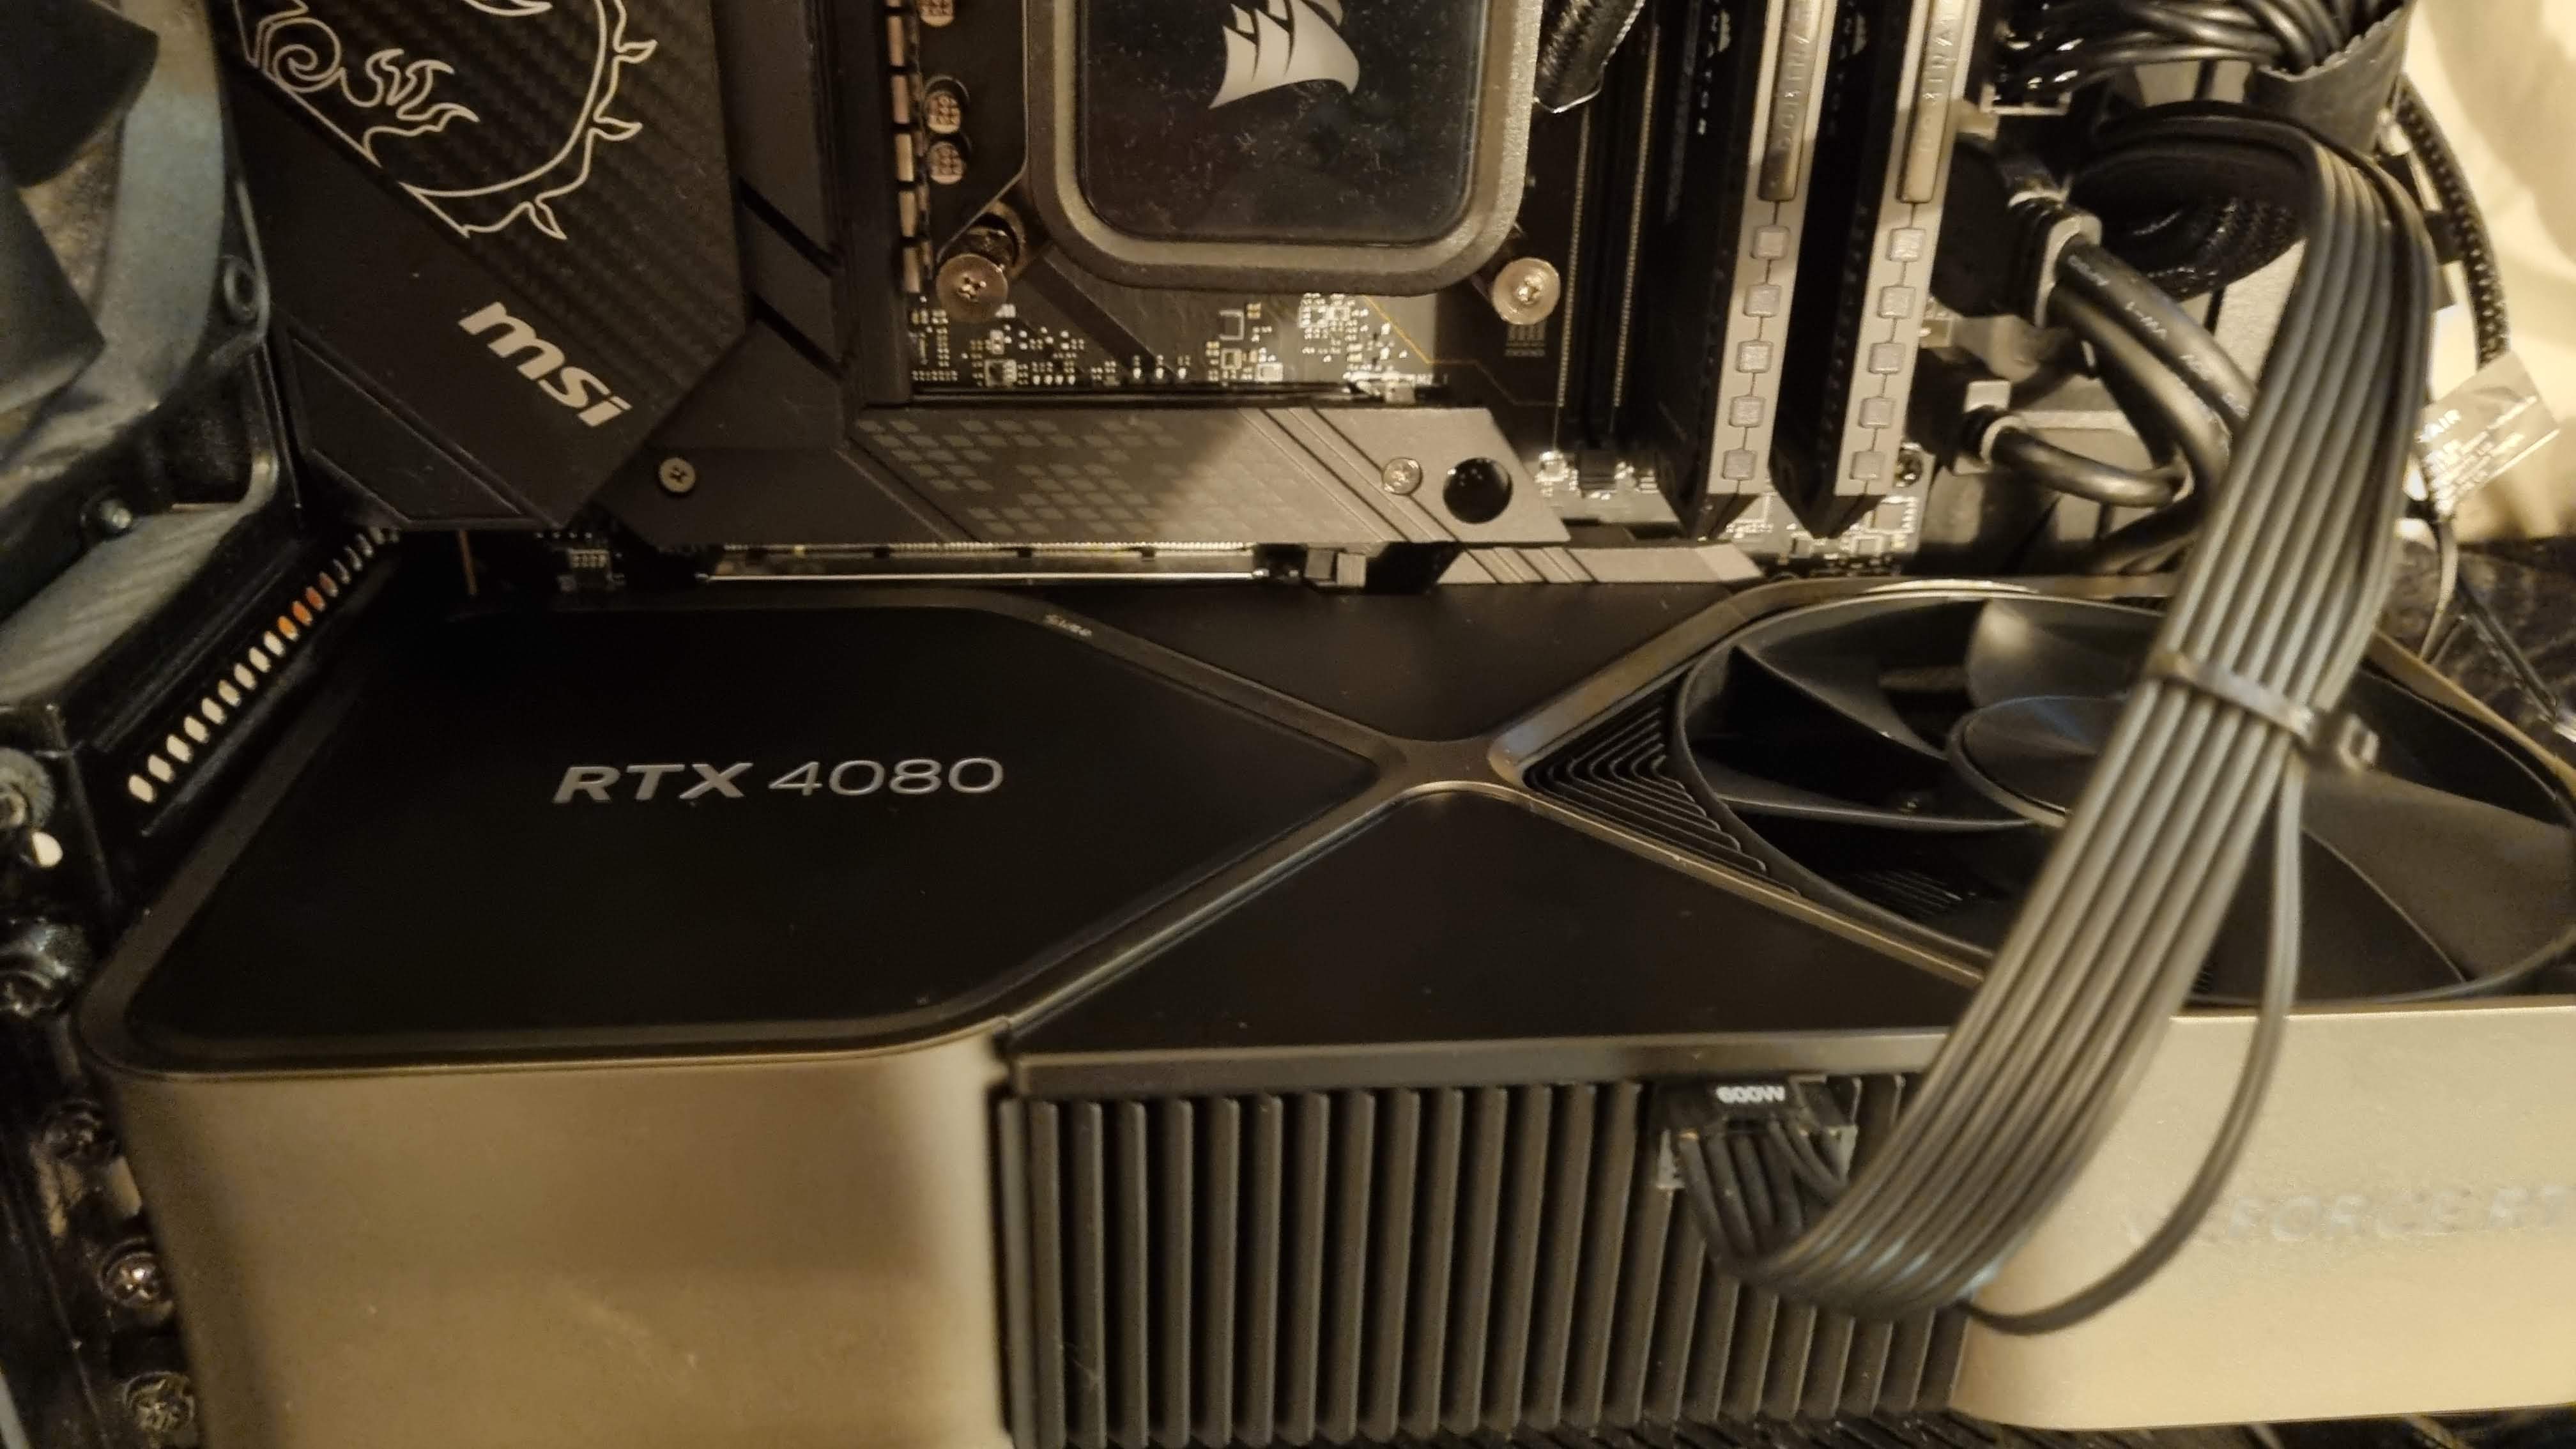
3. Check your PSU’s power connectors
(Image: © Future / John Loeffler)
Depending on the TDP (and connector) of your new graphics card, you may need to run an extra PCIe power connector (or two) from your PSU.
If you’re upgrading from an entry-level card to a midrange or high-end one, you may need to upgrade your PSU. You’ll have, no doubt, done the research on your new GPU’s TDP before investing, so you should meet the power requirements, provided you’ve run the right amount of power connectors from the brick to the video card.
4. Install your new graphics card
Ground yourself by touching the metal part of your computer’s case, and then plug your new graphics card into your motherboard’s PCIe x16 slot, making sure you have proper clearance without blocking any M.2 ports, getting tangled on cables, knocking into any intake fans, etc.
Once the new graphics card is secured, keep a hand on it to prevent it from sagging on the bracket, and use your other hand to screw the GPU in at the rear bracket. Once its weight is supported, use another screw (if applicable) to keep the graphics card in place. If your model came with an anti-sag bracket (such as a triple-slot GPU), be sure to use it.
If it’s an Intel or AMD GPU, plug the one to three PCIe power connectors directly into the graphics card. For newer Nvidia cards, plug the 16-pin (or 12-pin) adapter in and then insert the power connectors into the other end of the adapter; it could be two or up to four connectors, depending on whether you’ve got the likes of the RTX 5070 or something higher-end like the RTX 5080 or RTX 5090.
5. Install your new graphics card drivers

(Image: © Nvidia)
With your new graphics card safely installed and your PC powered back on, you’re ready to install the latest drivers for the best gaming performance. You can either download the dedicated Nvidia app, AMD Software, or the Intel Graphics Software hub, which will streamline the installation process.
Alternatively, you can manually search for your graphics card drivers from their respective websites: Nvidia drivers, AMD drivers, and Intel drivers.
6. Test your upgraded graphics card

(Image: © CDProjekt Red)
Now for the fun part. Boot up one of your favorite games on the likes of Steam, Epic Games, Ubisoft Connect, or GOG Galaxy. Many of the best PC games include a built-in benchmarking tool from the graphics menu, which can accurately how your improved average FPS. If you’re looking to bump up from 1080p to 1440p, or up to 4K, you may want to enable the likes of DLSS/FSR and Frame Generation for the highest amount of performance possible.
Final thoughts
Upgrading a graphics card in your gaming PC is one of the more straightforward (yet important) things you can do to get a better gaming experience. While some GPUs have different power requirements (and may need an adapter), the process of swapping them out is (usually) the same and has been for a very long time now. Just be careful with any future upgrades that you’ve got one of the best PSUs needed, as (traditionally) thermal design power is increasing generationally, and lacking enough wattage could result in your GPU not working as intended.