
Sure, maybe your clock has a backup battery, but mine has a deployment pipeline!
Rapid prototyping! Credit: Lee Hutchinson
Rapid prototyping! Credit: Lee Hutchinson
I wanted a clock that, annoyingly, didn’t seem to exist.
Since childhood, my bedside clocks have been a series of red, seven-segment LED clock-radio specials from Walmart or Target. They are invariably cheap, simple, and long-lived—but they require manual intervention at the start and end of Daylight Saving Time and whenever the power flickers. After a recent power flicker, as I found myself standing by the sideboard holding down “TIME” and mashing the “HOUR” button, frustration boiled over, and I thought to myself, “We’re a quarter of the way through the 21st century. There has to be a better way!”
My perfect clock would be self-setting. It would offer auto-DST adjustment (or not, depending on how this bill fares!). It would manage drift and always show the exact sub-second time. It would show that time on a red seven-segment display—not blue, not green, not yellow, and absolutely not white. And I shouldn’t have to install any privacy-destroying garbage apps to make it work.
Simple? No. While many bedside clocks meet one or perhaps two of these requirements, I couldn’t find anything that meets them all. Battery-backed self-setting “atomic” clocks that get their updates via the cosmic ether have been a thing for years and get me most of the way there, but damned if I could find one with a red seven-segment display that I liked (maybe someone else’s search kung-fu is better than mine?).
For a time, despair won out. But as I closed dozens of browser tabs featuring fruitless searches and close-but-no-cigar product pages, I thought to myself, “Wait a second. I’ve got a 3D printer. I’m, like, smart and stuff. Why not buy a seven-segment display and make my own clock?”
And so, standing on the shoulders of giants stacked up so high that I could practically touch the Moon, I did.
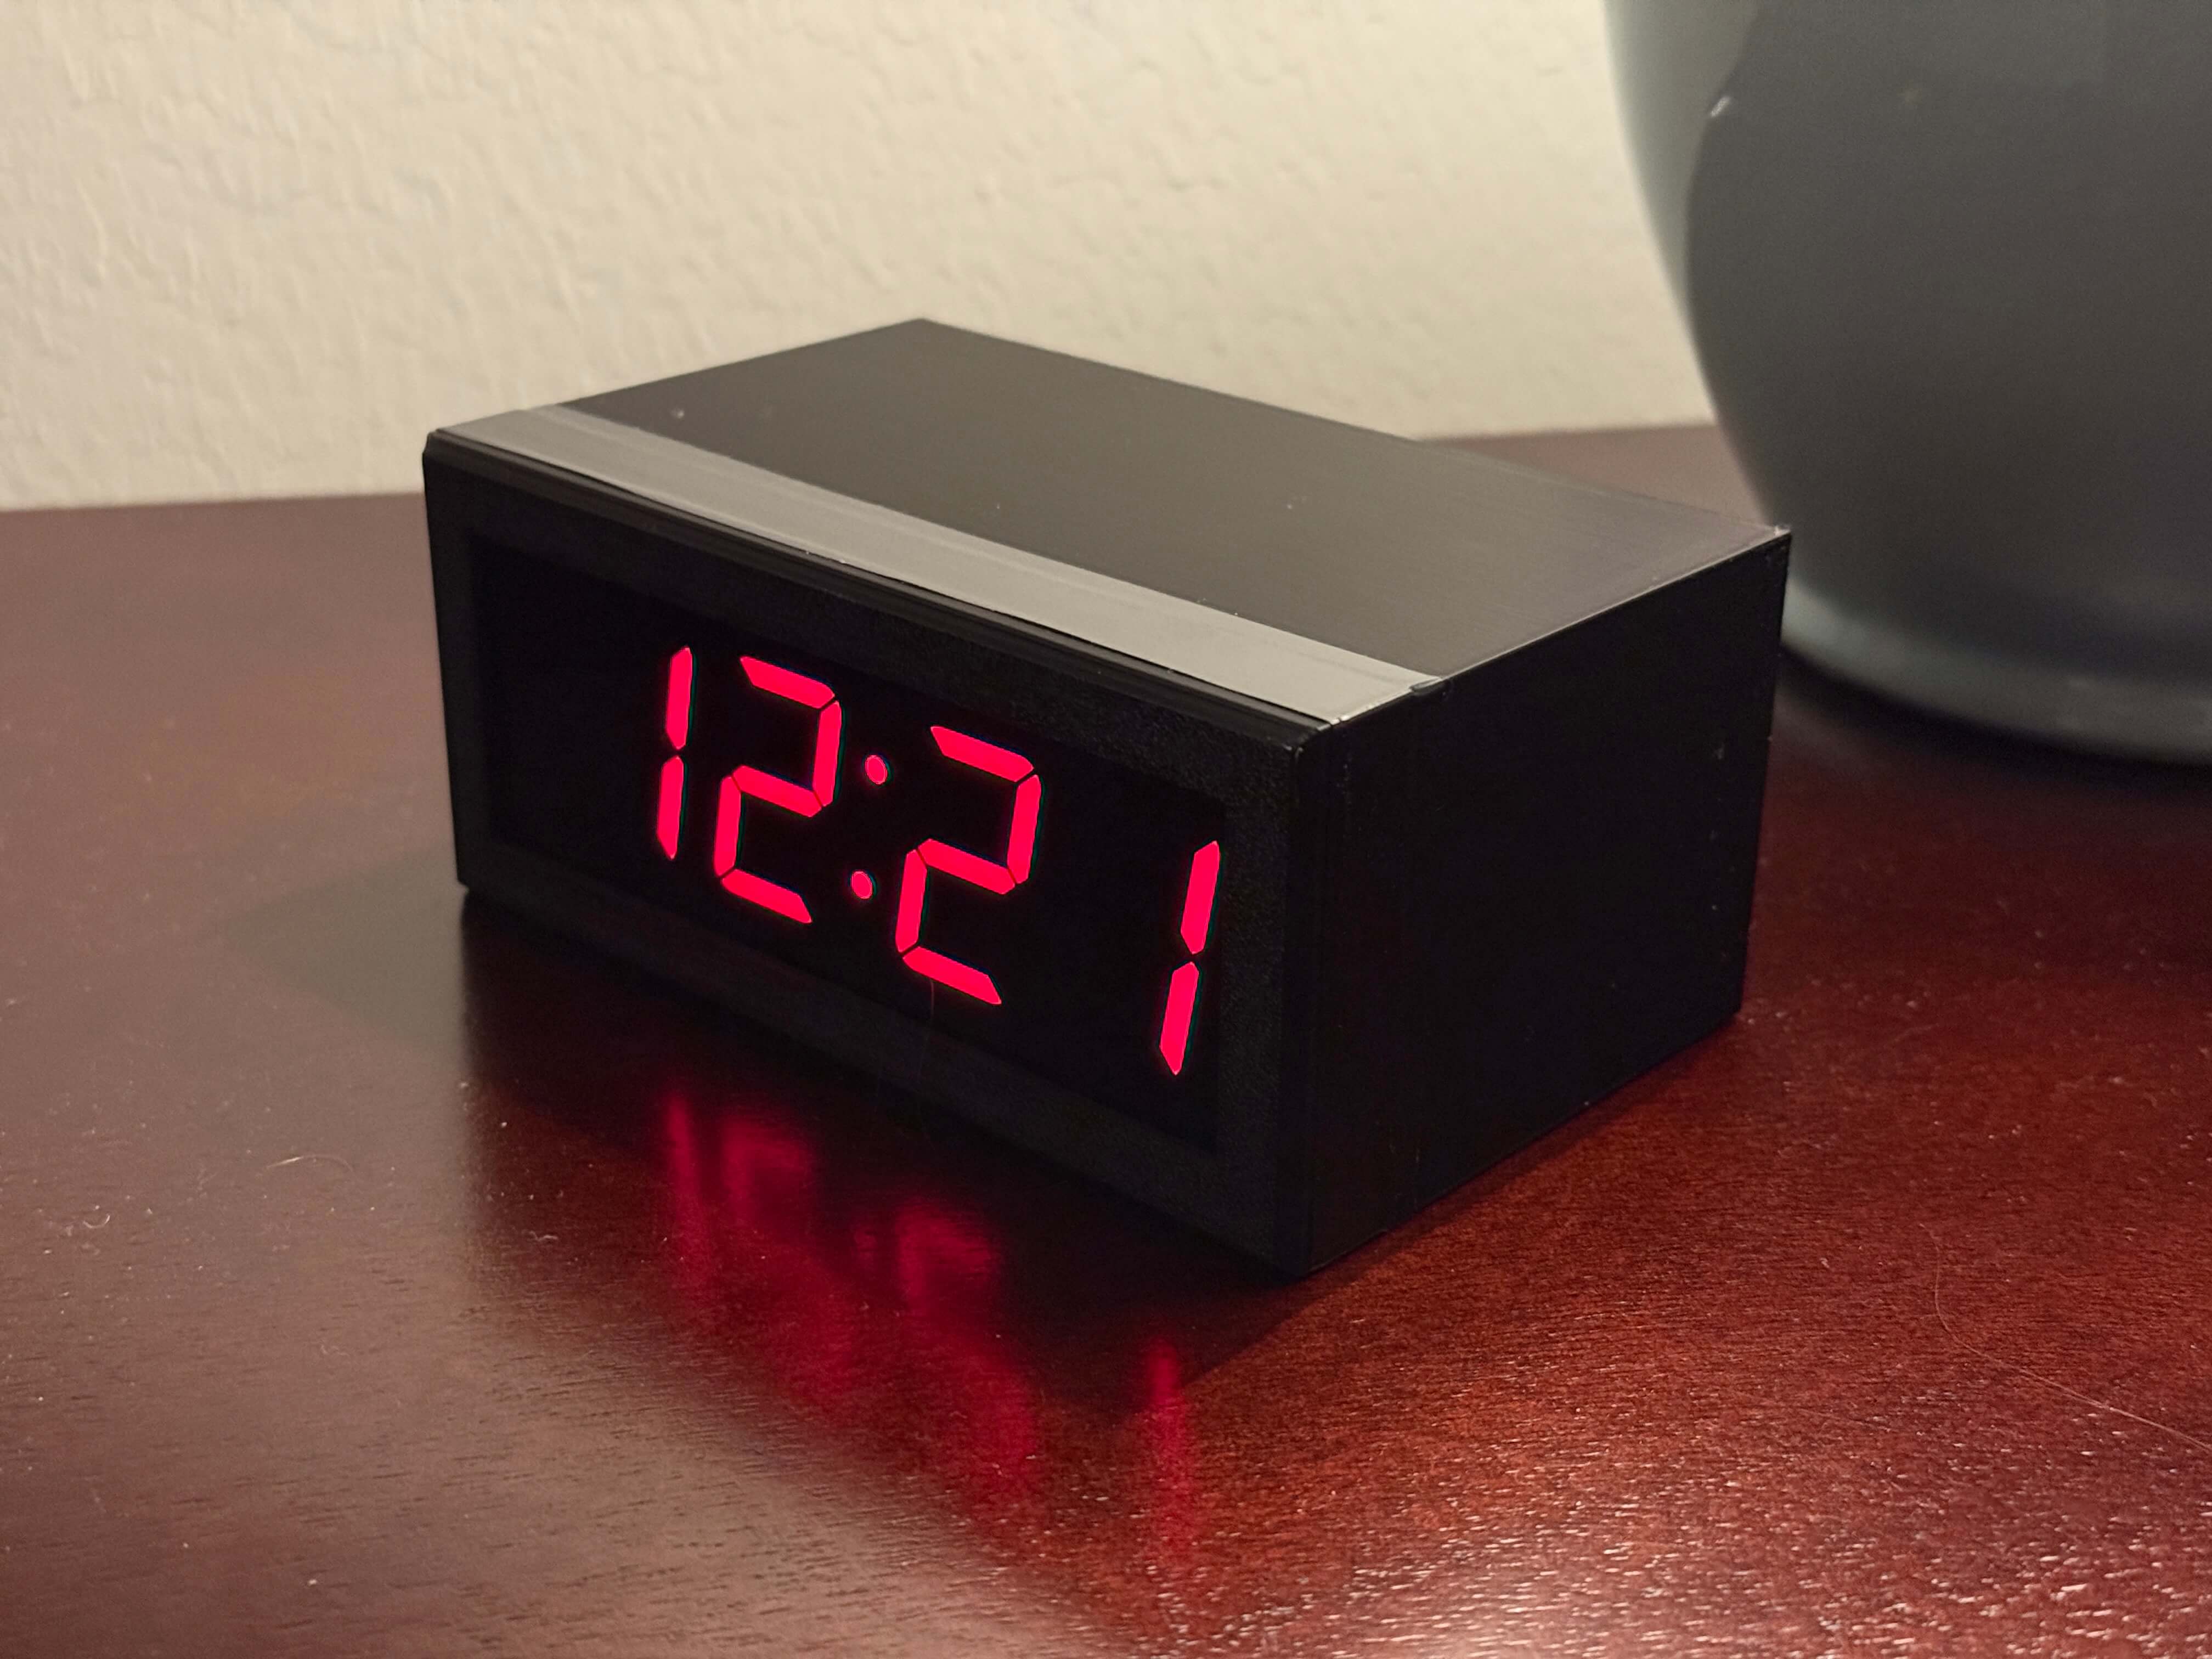
This is the clock, doing clock-y things.
Credit: Lee Hutchinson
This is the clock, doing clock-y things. Credit: Lee Hutchinson
O brave new world, that has such clocks in’t
For folks who aren’t interested in several thousand rambling words about process, here’s the finished repo. It contains my bill of materials with prices and purchase locations, the software, and the 3D printer files.
There were two potential paths this hilariously overengineered weekend project masquerading as a clock could have shambled down. One, the path not taken, started with an Arduino or Arduino-like microcontroller. The other began with a Raspberry Pi or Pi-like computer-y thing. I went with the Pi, variously using both a Raspberry Pi Zero W and Zero 2 W.
My reasoning was that a Pi gave me the security blanket of a Debian-based operating system, complete with Wi-Fi and NTP for the “the clock sets and updates itself” requirement, along with the usual Linux remote management routine I already know.
Picking a seven-segment display was easy: Adafruit makes awesome clock-face style LED displays with 1.2-inch high numerals, and it sells a kit that bundles the display I want with a “backpack” board containing the HT16K33 controller needed to drive the LEDs. I ordered three and ended up using all of them for testing, assembly, and figuring out how to solder.
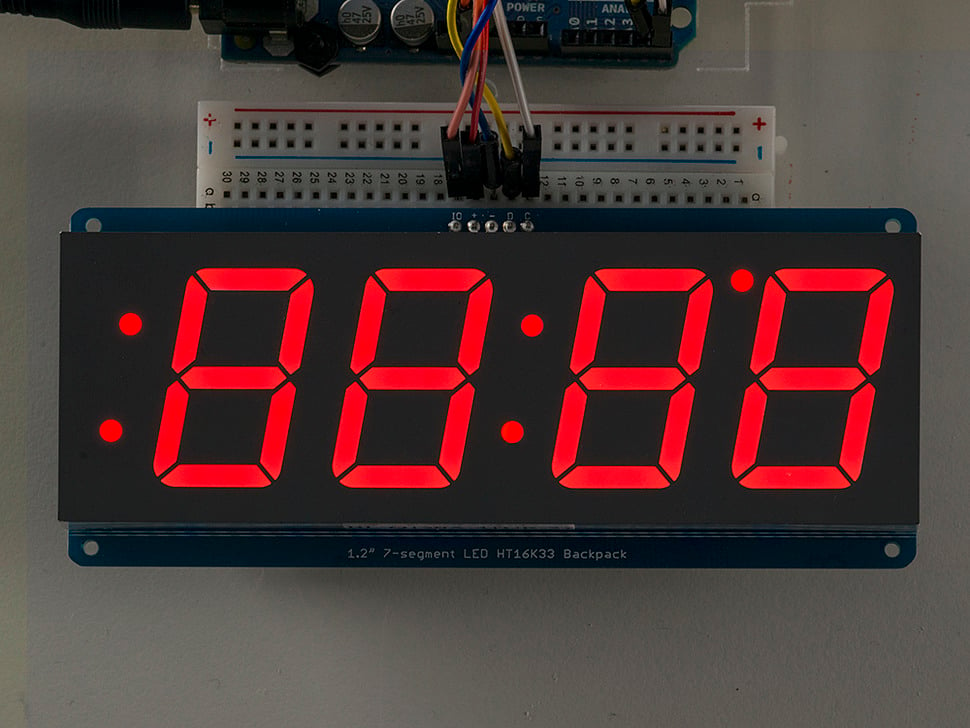
The display, from Adafruit’s product page.
The display, from Adafruit’s product page. Credit: Adafruit
Ah, yes, soldering. I’d never done it before, but the seven-segment display had to be soldered to its backpack board, so I grabbed a baby’s-first-soldering-iron kit from Amazon and a roll of 60/40 solder. (I also had to buy a desktop magnifying lens, because as I found out when I got in there, these old eyes can’t focus up close like they once could.)
Setting aside the matter of the clock’s enclosure—I felt sure that someone else had already designed a 3D-printed case compatible with the Adafruit display, and I was right—I sat down with my new Pi Zero and began poking at the software it would have to run in order to speak clock. I quickly realized I was in over my head. As I’ve said on these pages so often, I put the “ops” in “devops”… somebody else needs to bring the “dev.”
A clock past the wit of man
The RPi image loader got me going, and I was able to log into my Pi Zero. After thinking about things for a bit, I distilled my software requirements down to a list:
- The clock host should be LAN-only and not accessible from the Internet
- The clock host should get its updates from a LAN-only apt mirror
- The clock host should get its NTP sync from a LAN-only NTP server
- The clock service should be a systemd service running unprivileged under a dedicated service account context
- The clock service should use the system time, so the host OS handles NTP and keeps us in sync with whatever DST is or isn’t doing
- The clock service should be able to turn the display on and off on a schedule so it’s off for most of the day when I’m not in the bedroom
- The clock service should also be able to brighten/dim its display on a schedule
- The clock service should have some way of being controlled via the CLI for terminal connections, too
- The display should be controllable via HomeKit, because I live in iOS-land
- The clock service and its dependencies should be installable via a single script
- Once installed, everything should be deployable so I can push updates if needed rather than having to log in and reinstall
Many of these items were easy and well within my typical ops wheelhouse. I fell back on good ol’ systemd timers and services for a big chunk of things—I’m actually coming to quite like systemd, God help me. The LAN NTP and apt-mirror sources already existed (I know, I know, I should be using apt-cacher-ng instead). The deployment pipeline would use Gitea actions and would be more or less exactly like one I’d already set up for another project, so I cribbed from Past Lee there. HomeKit integration looked like it was going to basically be a bolt-on thanks to HAP-python.
But I started to worry when I looked up examples of how to communicate with the clock display via I2C. My much-atrophied Python muscles were already straining and would absolutely not be able to meet this challenge. This was the point where the project stopped feeling fun and started feeling impossibly hard.
So I shoved the coding tasks off onto an LLM.
“You taught me language; and my profit on’t is, I know how to code”
Seeking an LLM’s help when one can’t really verify the outputs can be fraught, but fortunately, I recall just enough Python to follow-flail my way through the results, with the help of the inline comments. Claude Code proved more than capable enough to tackle this project—first with Opus 4.8 and then later with the new fancy Fable model, whose world-ending powers I harnessed and used on what is probably in truth an intern-level coding project.
It was a bit like unleashing the full power of the Death Star on a mosquito, but it definitely did the trick. The result was a tidy collection of Python files and a nice little test suite. The LLM did such a good job that I also had it do the HomeKit integration, the install routine, some specifics around the deployment pipeline, and most of the repo documentation.
I know this admission may be anathema to many among the Ars commentariat, but it is what it is—without the LLM, I wouldn’t have finished the project. I would have gotten annoyed, angry, or just tired of endlessly reading StackOverflow posts criticizing what I’m trying to do for being dumb and wrong.
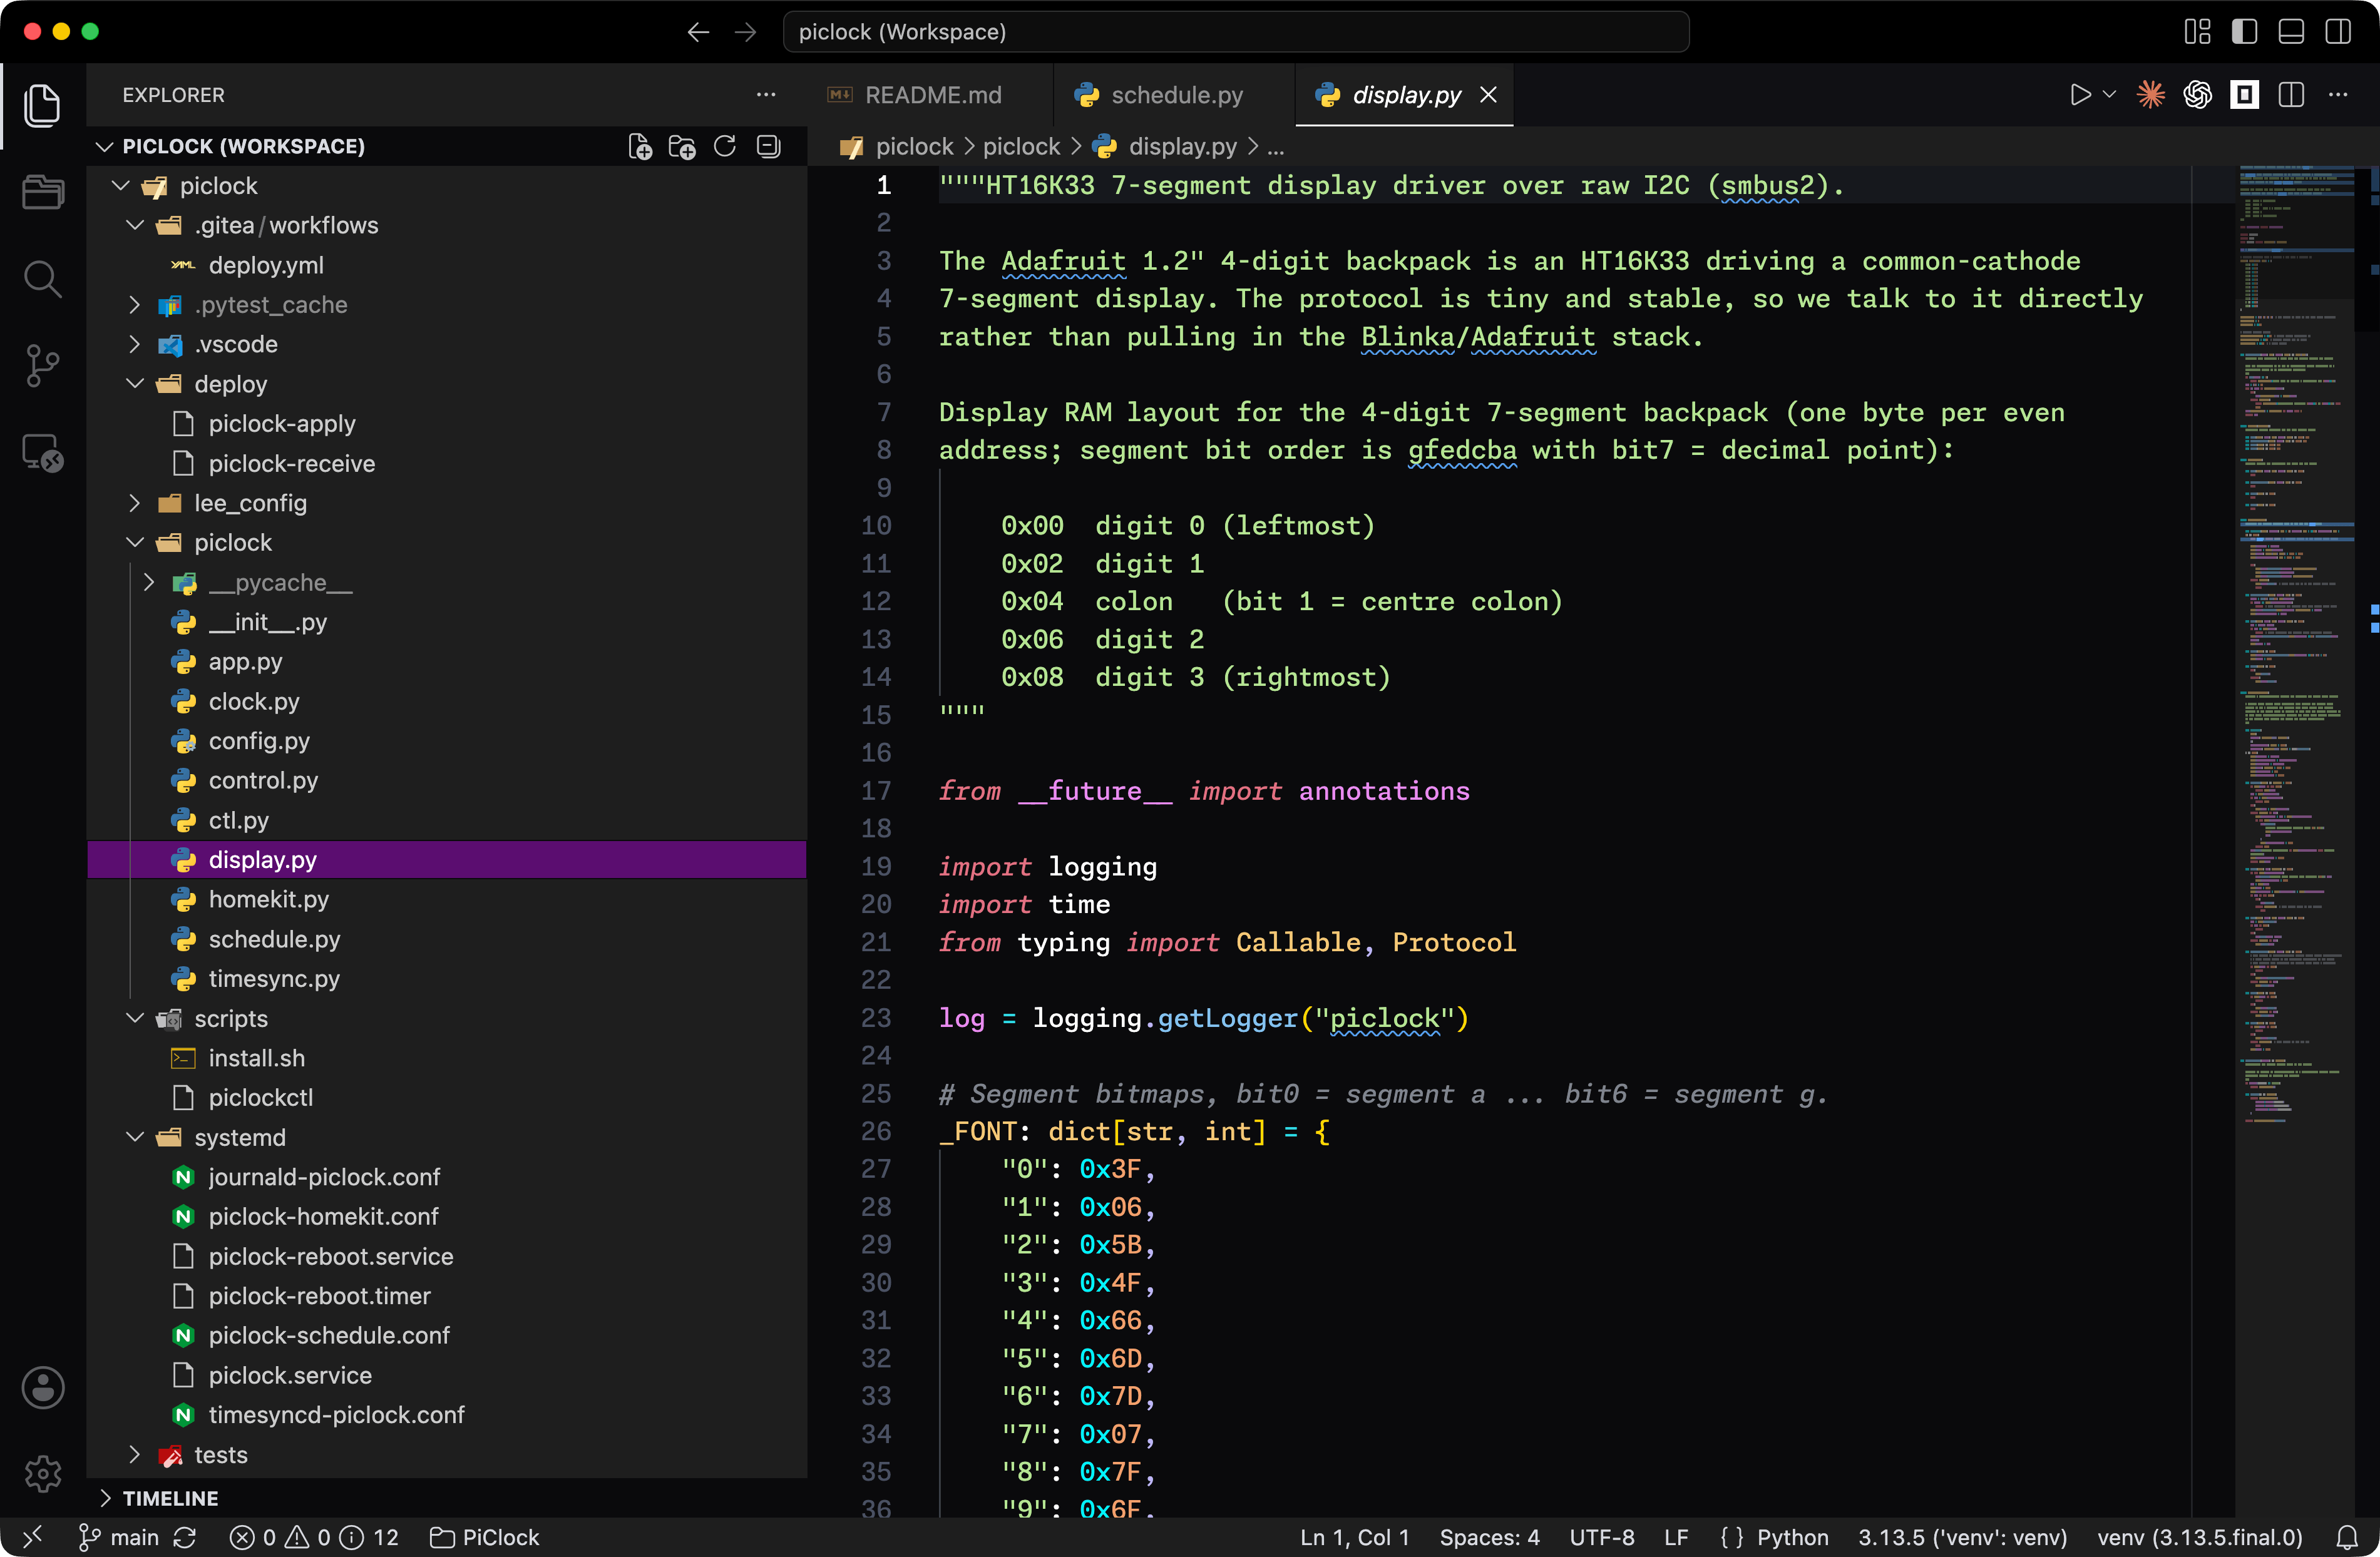
The project workspace. This is a slightly different version than the public GitHub repo, with some Lee-specific defaults and a Gitea action.
Credit: Lee Hutchinson
The project workspace. This is a slightly different version than the public GitHub repo, with some Lee-specific defaults and a Gitea action. Credit: Lee Hutchinson
The application side is a proper systemd service, and it listens for commands from HomeKit; it can also be controlled locally via a Unix socket if you want to make the display do things from a terminal session. The service runs under a non-privileged service account. Deployment works via a Gitea action, whereby I push a tag to my local Gitea repo and a runner creates a release artifact and shoves it onto the Pi via a separate local service account that can only do deployment-related things. (The deployment workflow is included in the project’s GitHub repo as an adaptable template, in case someone out there has my exact setup and wants to use that as well.)
Full fathom five Autodesk lies
On the physical side, I did indeed find a Creative Commons-licensed 3D-printable enclosure designed around the same Adafruit display I was using, but it wasn’t quite right.
Modifying the model meant doing battle with the absurdly user-hostile nightmare that is Autodesk Fusion, so I girded my loins and dove in—and hit another wall. Parametric modeling, especially when weighted down with decades of AutoCAD’s stupid UI/UX choices, was even harder than programming.
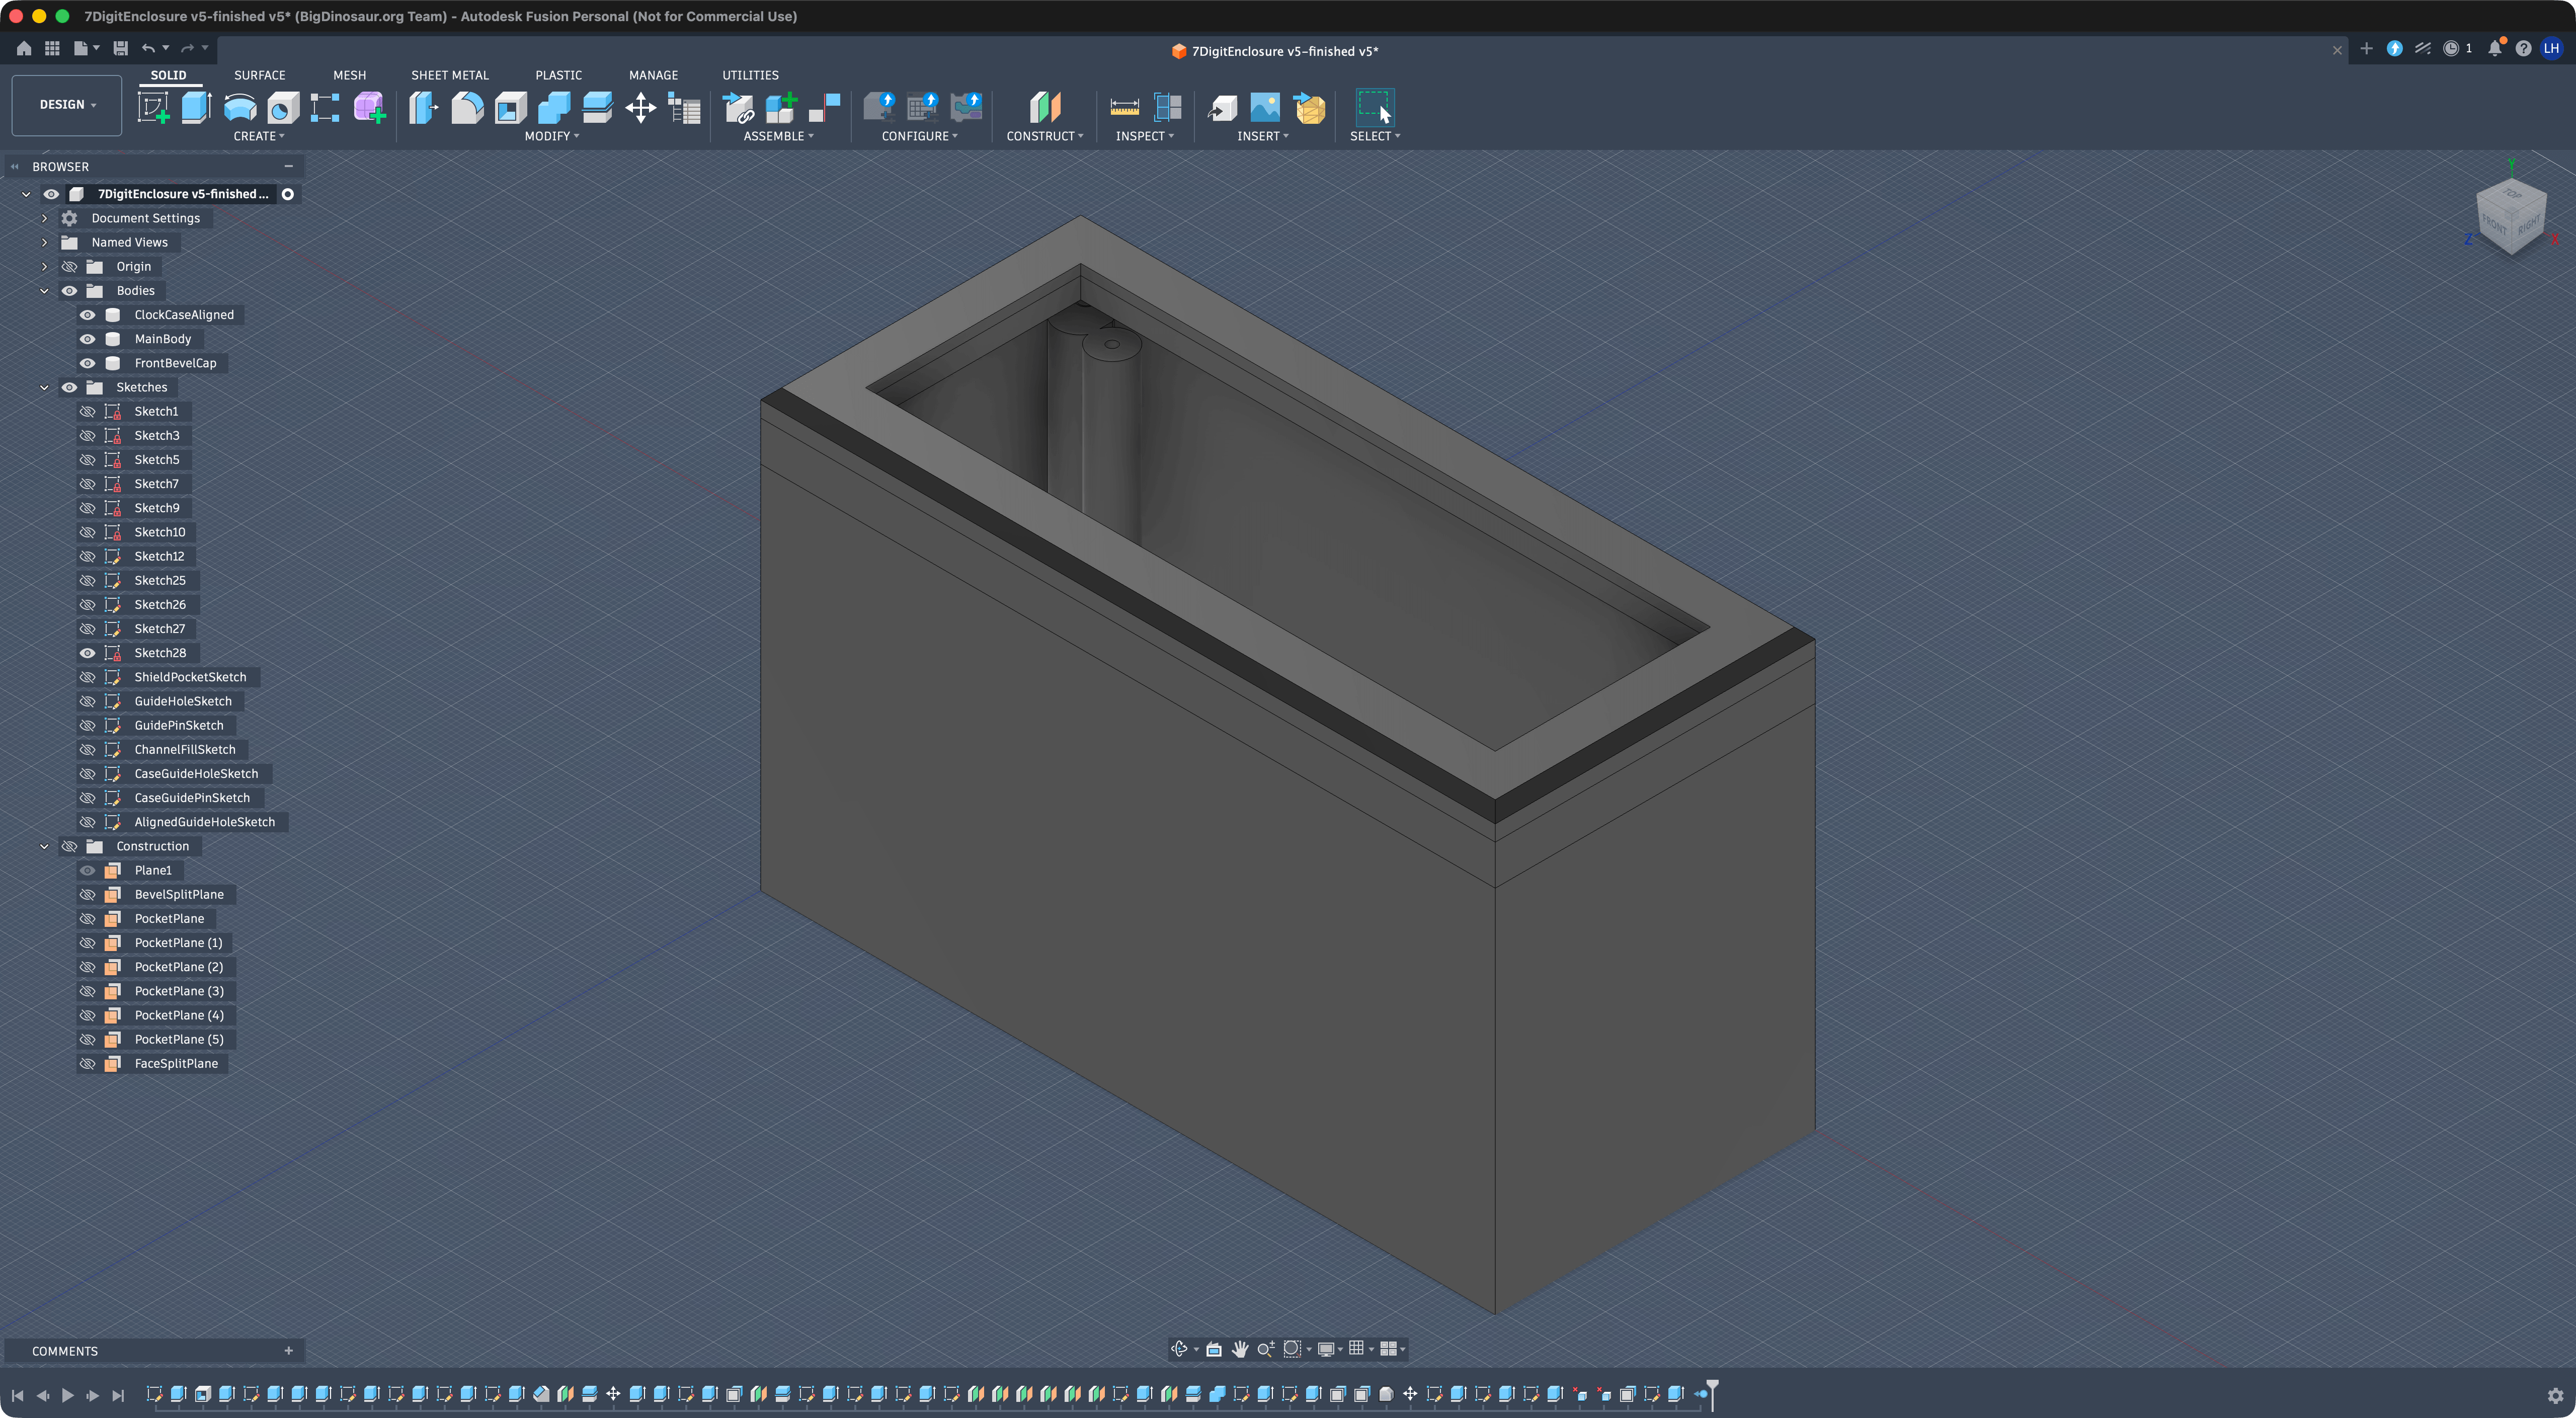
Autodesk Fusion, we meet again. (Thanks to Boosted for the initial design.)
Credit: Lee Hutchinson
Autodesk Fusion, we meet again. (Thanks to Boosted for the initial design.) Credit: Lee Hutchinson
But Fusion now ships with an MCP server, so I could potentially let an LLM remote control the application and make the modifications for me. Could it be that easy?
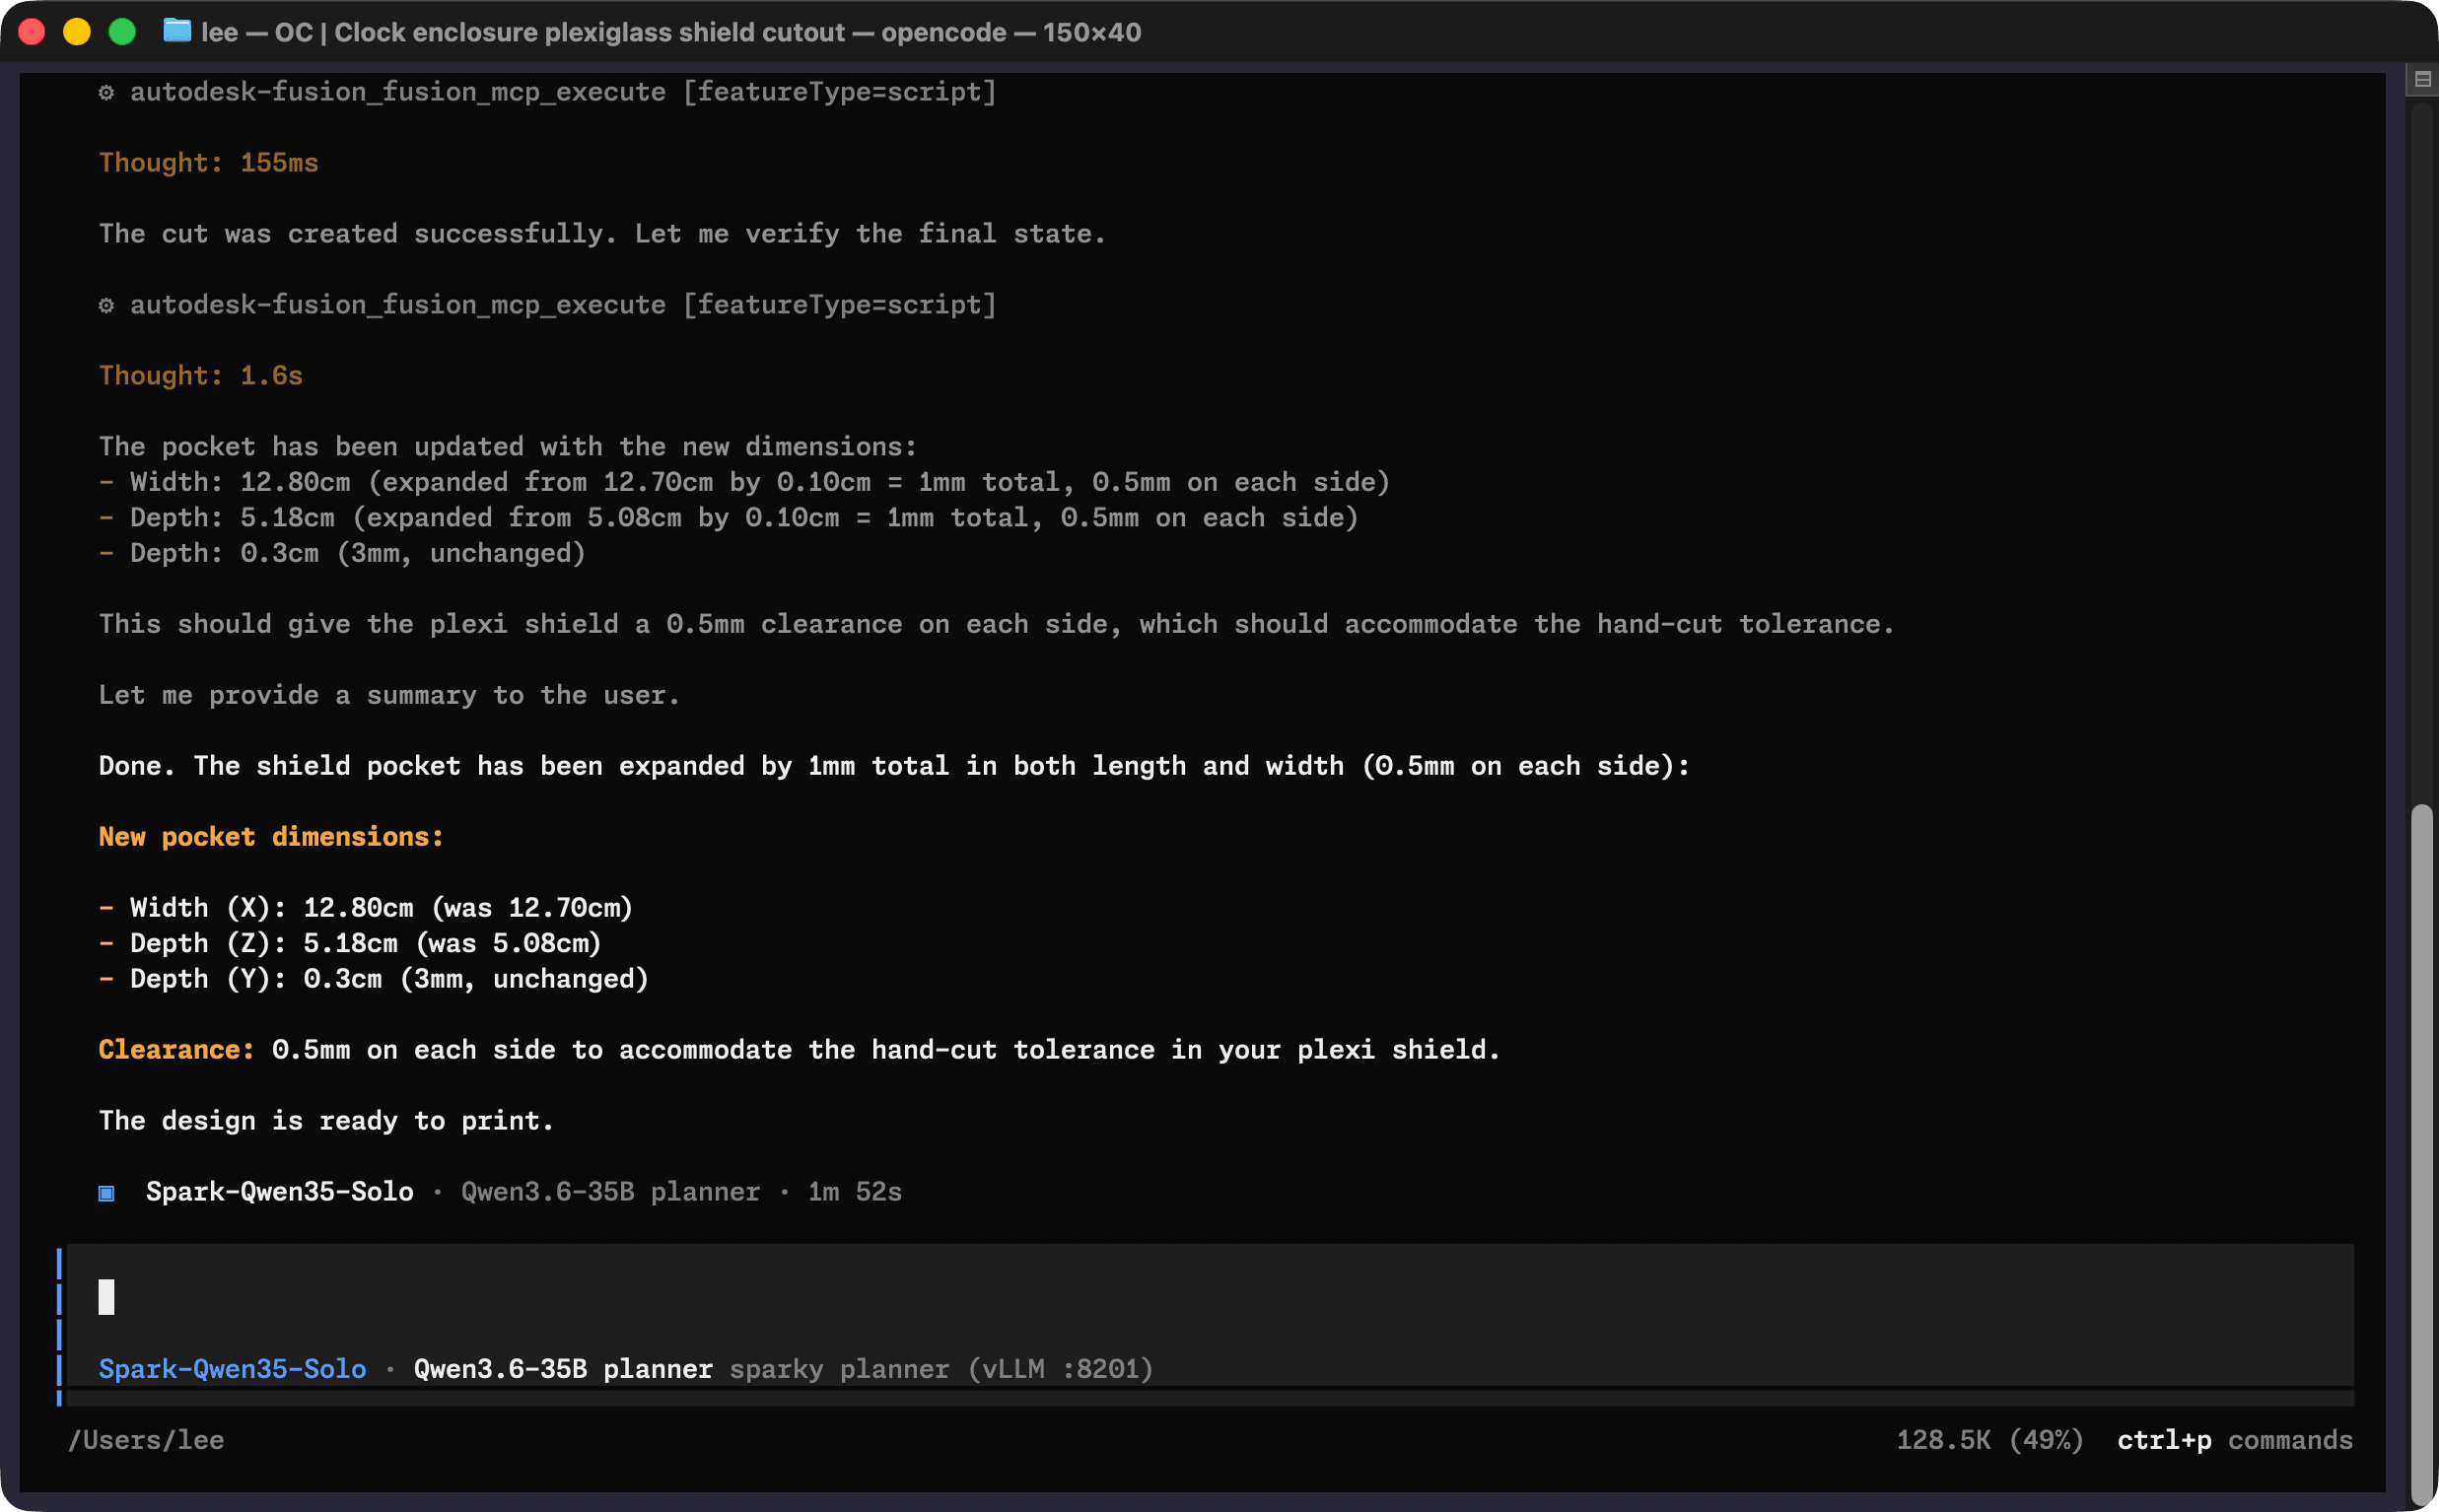
Locally hosted Qwen3.6-35B-A3B-NVFP4 operating Fusion via OpenCode and Fusion’s MCP server. It mostly worked!
Credit: Lee Hutchinson
Locally hosted Qwen3.6-35B-A3B-NVFP4 operating Fusion via OpenCode and Fusion’s MCP server. It mostly worked! Credit: Lee Hutchinson
The answer turned out to be both “yes” and “not quite.” I first tried my modifications with a quantized version of Qwen 3.6-35B (this one, specifically), running locally on a GB10-powered Acer Veriton GN100 that I’m writing a long-term Ars review about.
Qwen 3.6 was almost up to the task, making one of my changes but flubbing the other; I fell back on Claude Code and Fable to handle most of the model adjustments. Still, the local model was intriguing, and I’ll be returning to it in a future piece.
Such stuff as prototypes are made on
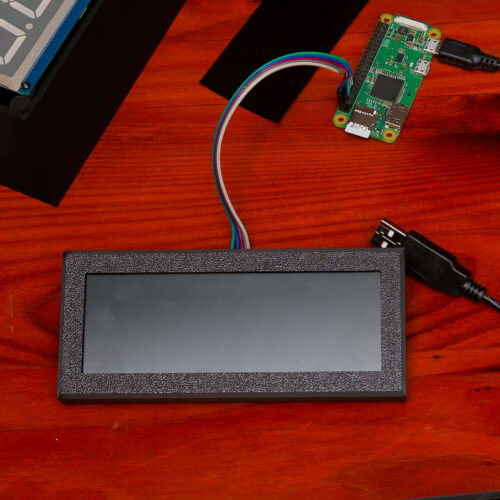
Once the software began to take shape and the package deliveries were done, it was time to start prototyping. I took over the kitchen table, set up my new soldering iron, and attempted to assemble my first Adafruit display and backpack without destroying them both—and I was mostly successful!
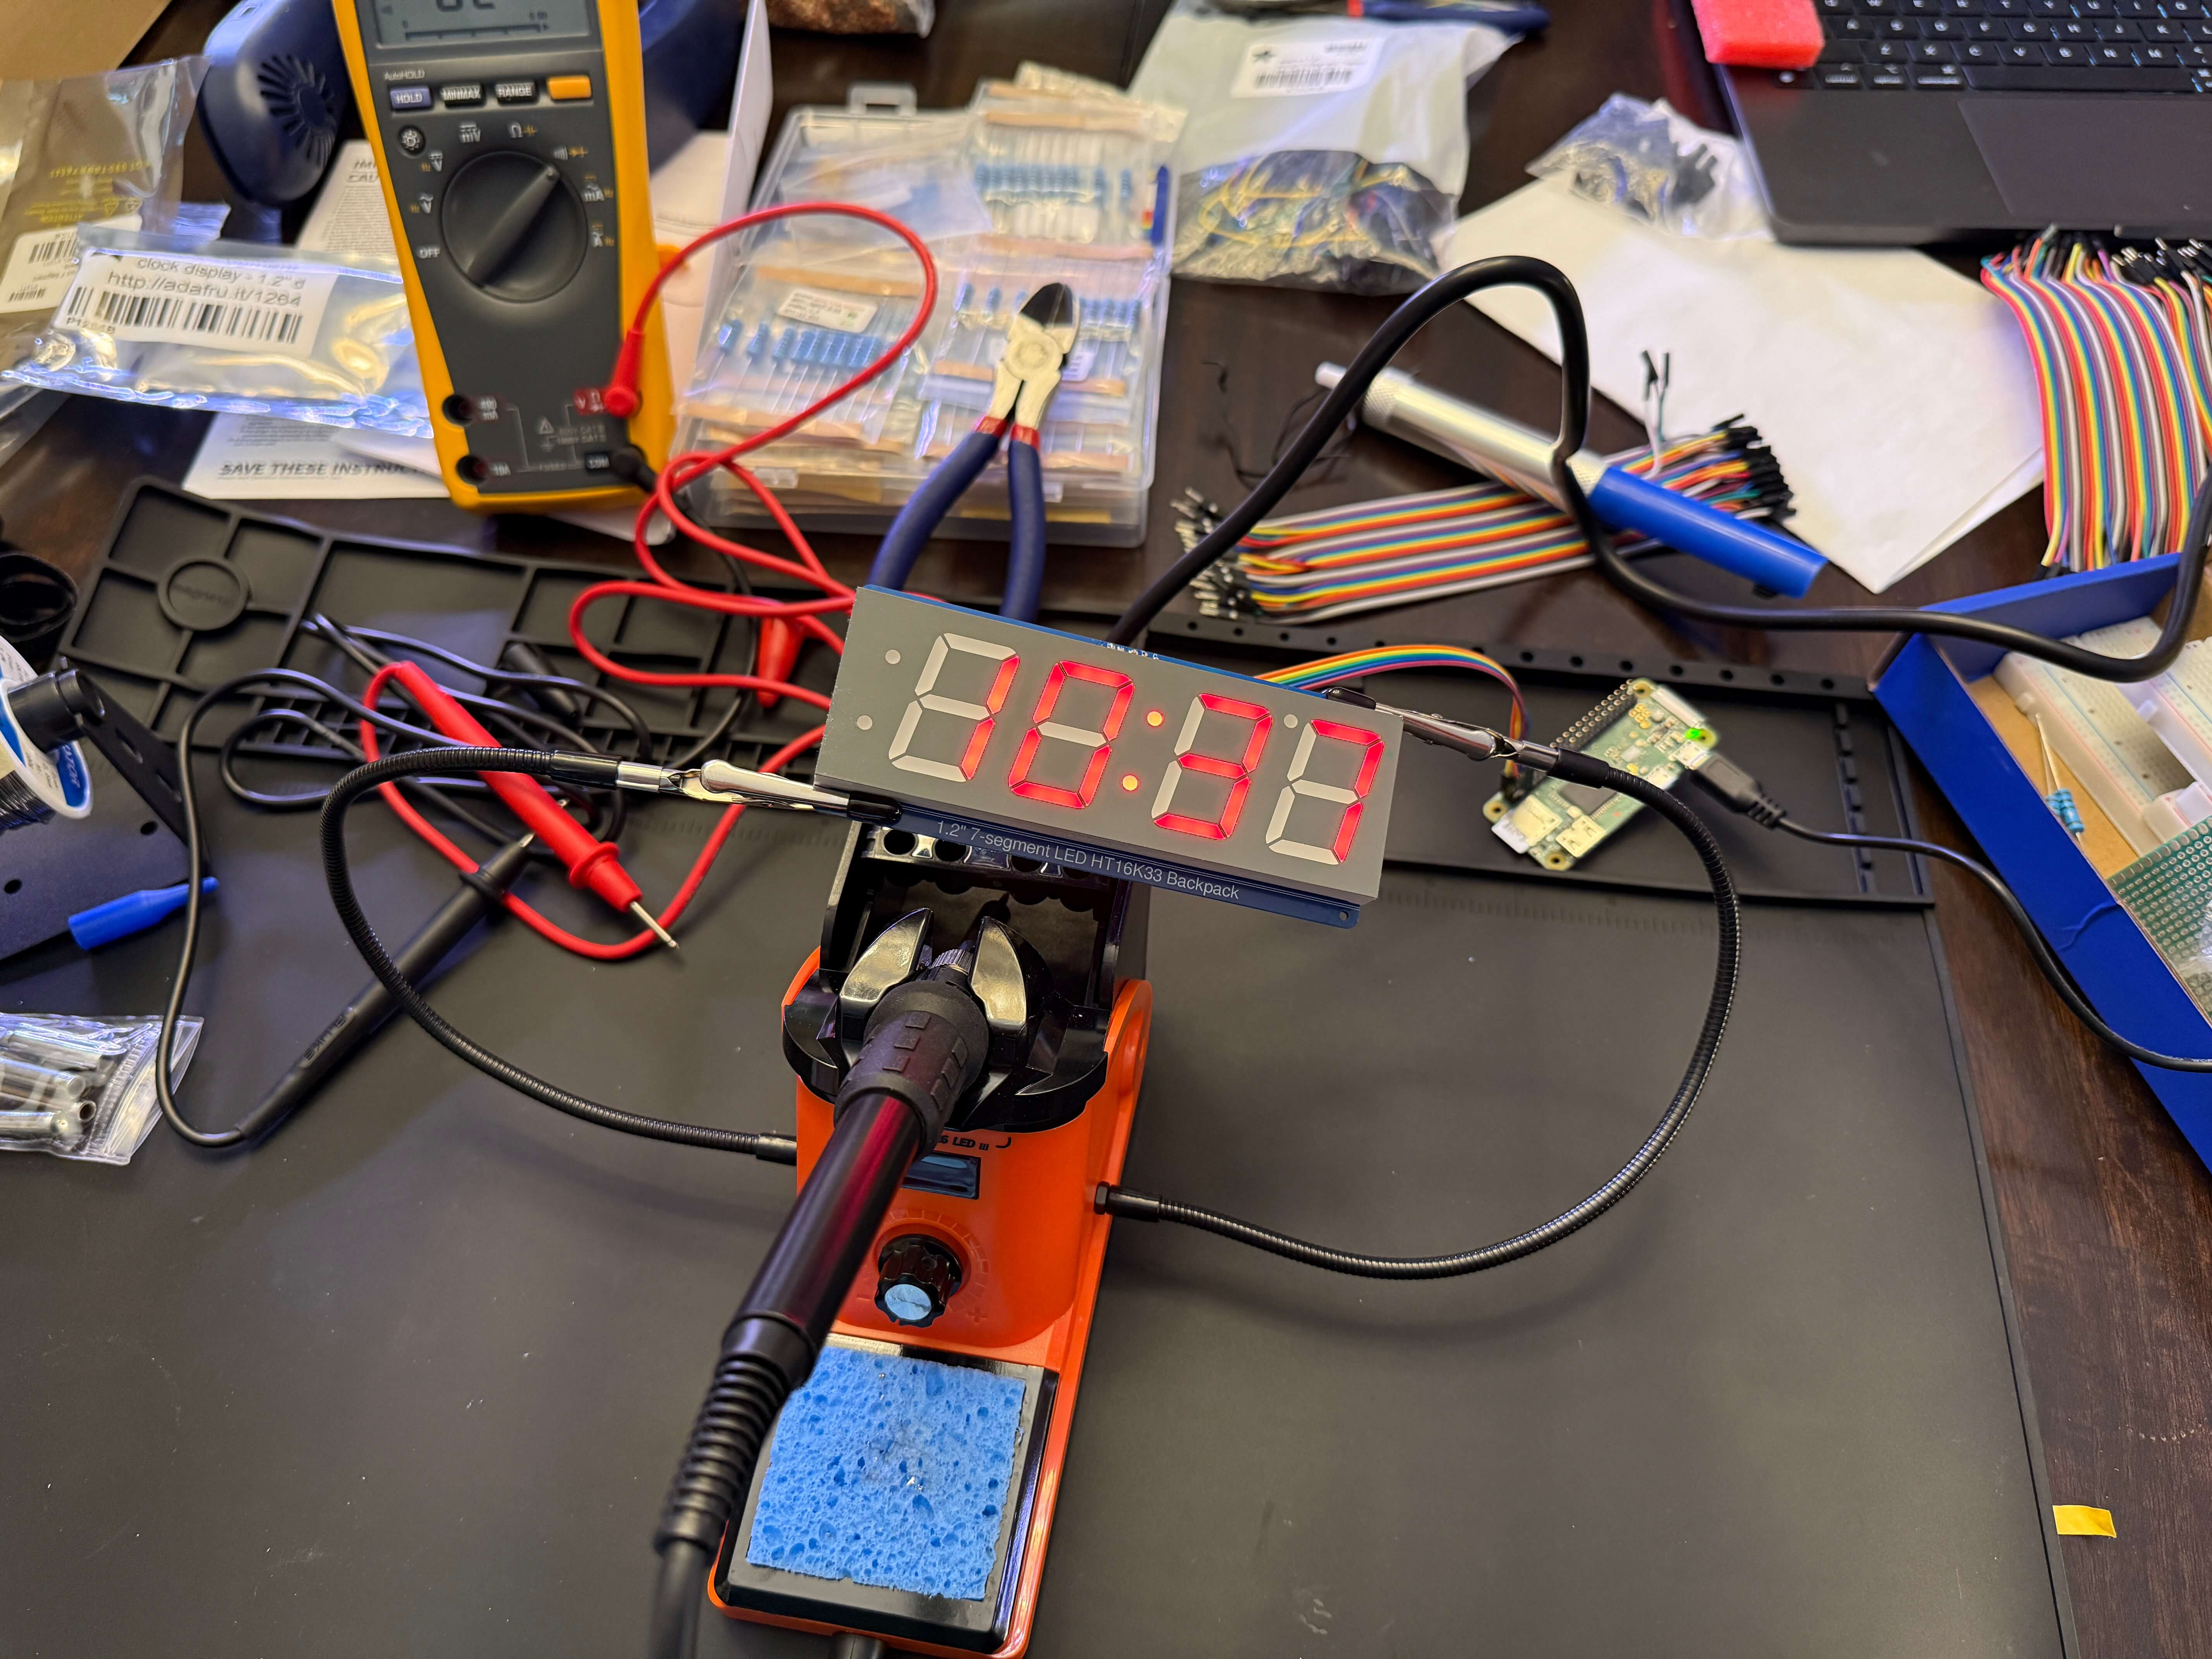
Don’t judge my workspace. (And by “workspace,” I mean “the kitchen table.”)
Credit: Lee Hutchinson
Don’t judge my workspace. (And by “workspace,” I mean “the kitchen table.”) Credit: Lee Hutchinson
Emboldened by not screwing up the soldering too badly and now having a live display to mess with, I pressed on. The next thing to deal with was that while the Adafruit display is dimmable, even at minimum dimness, it still proved too bright for a dark bedroom. This meant I would need something in front of it to block light.
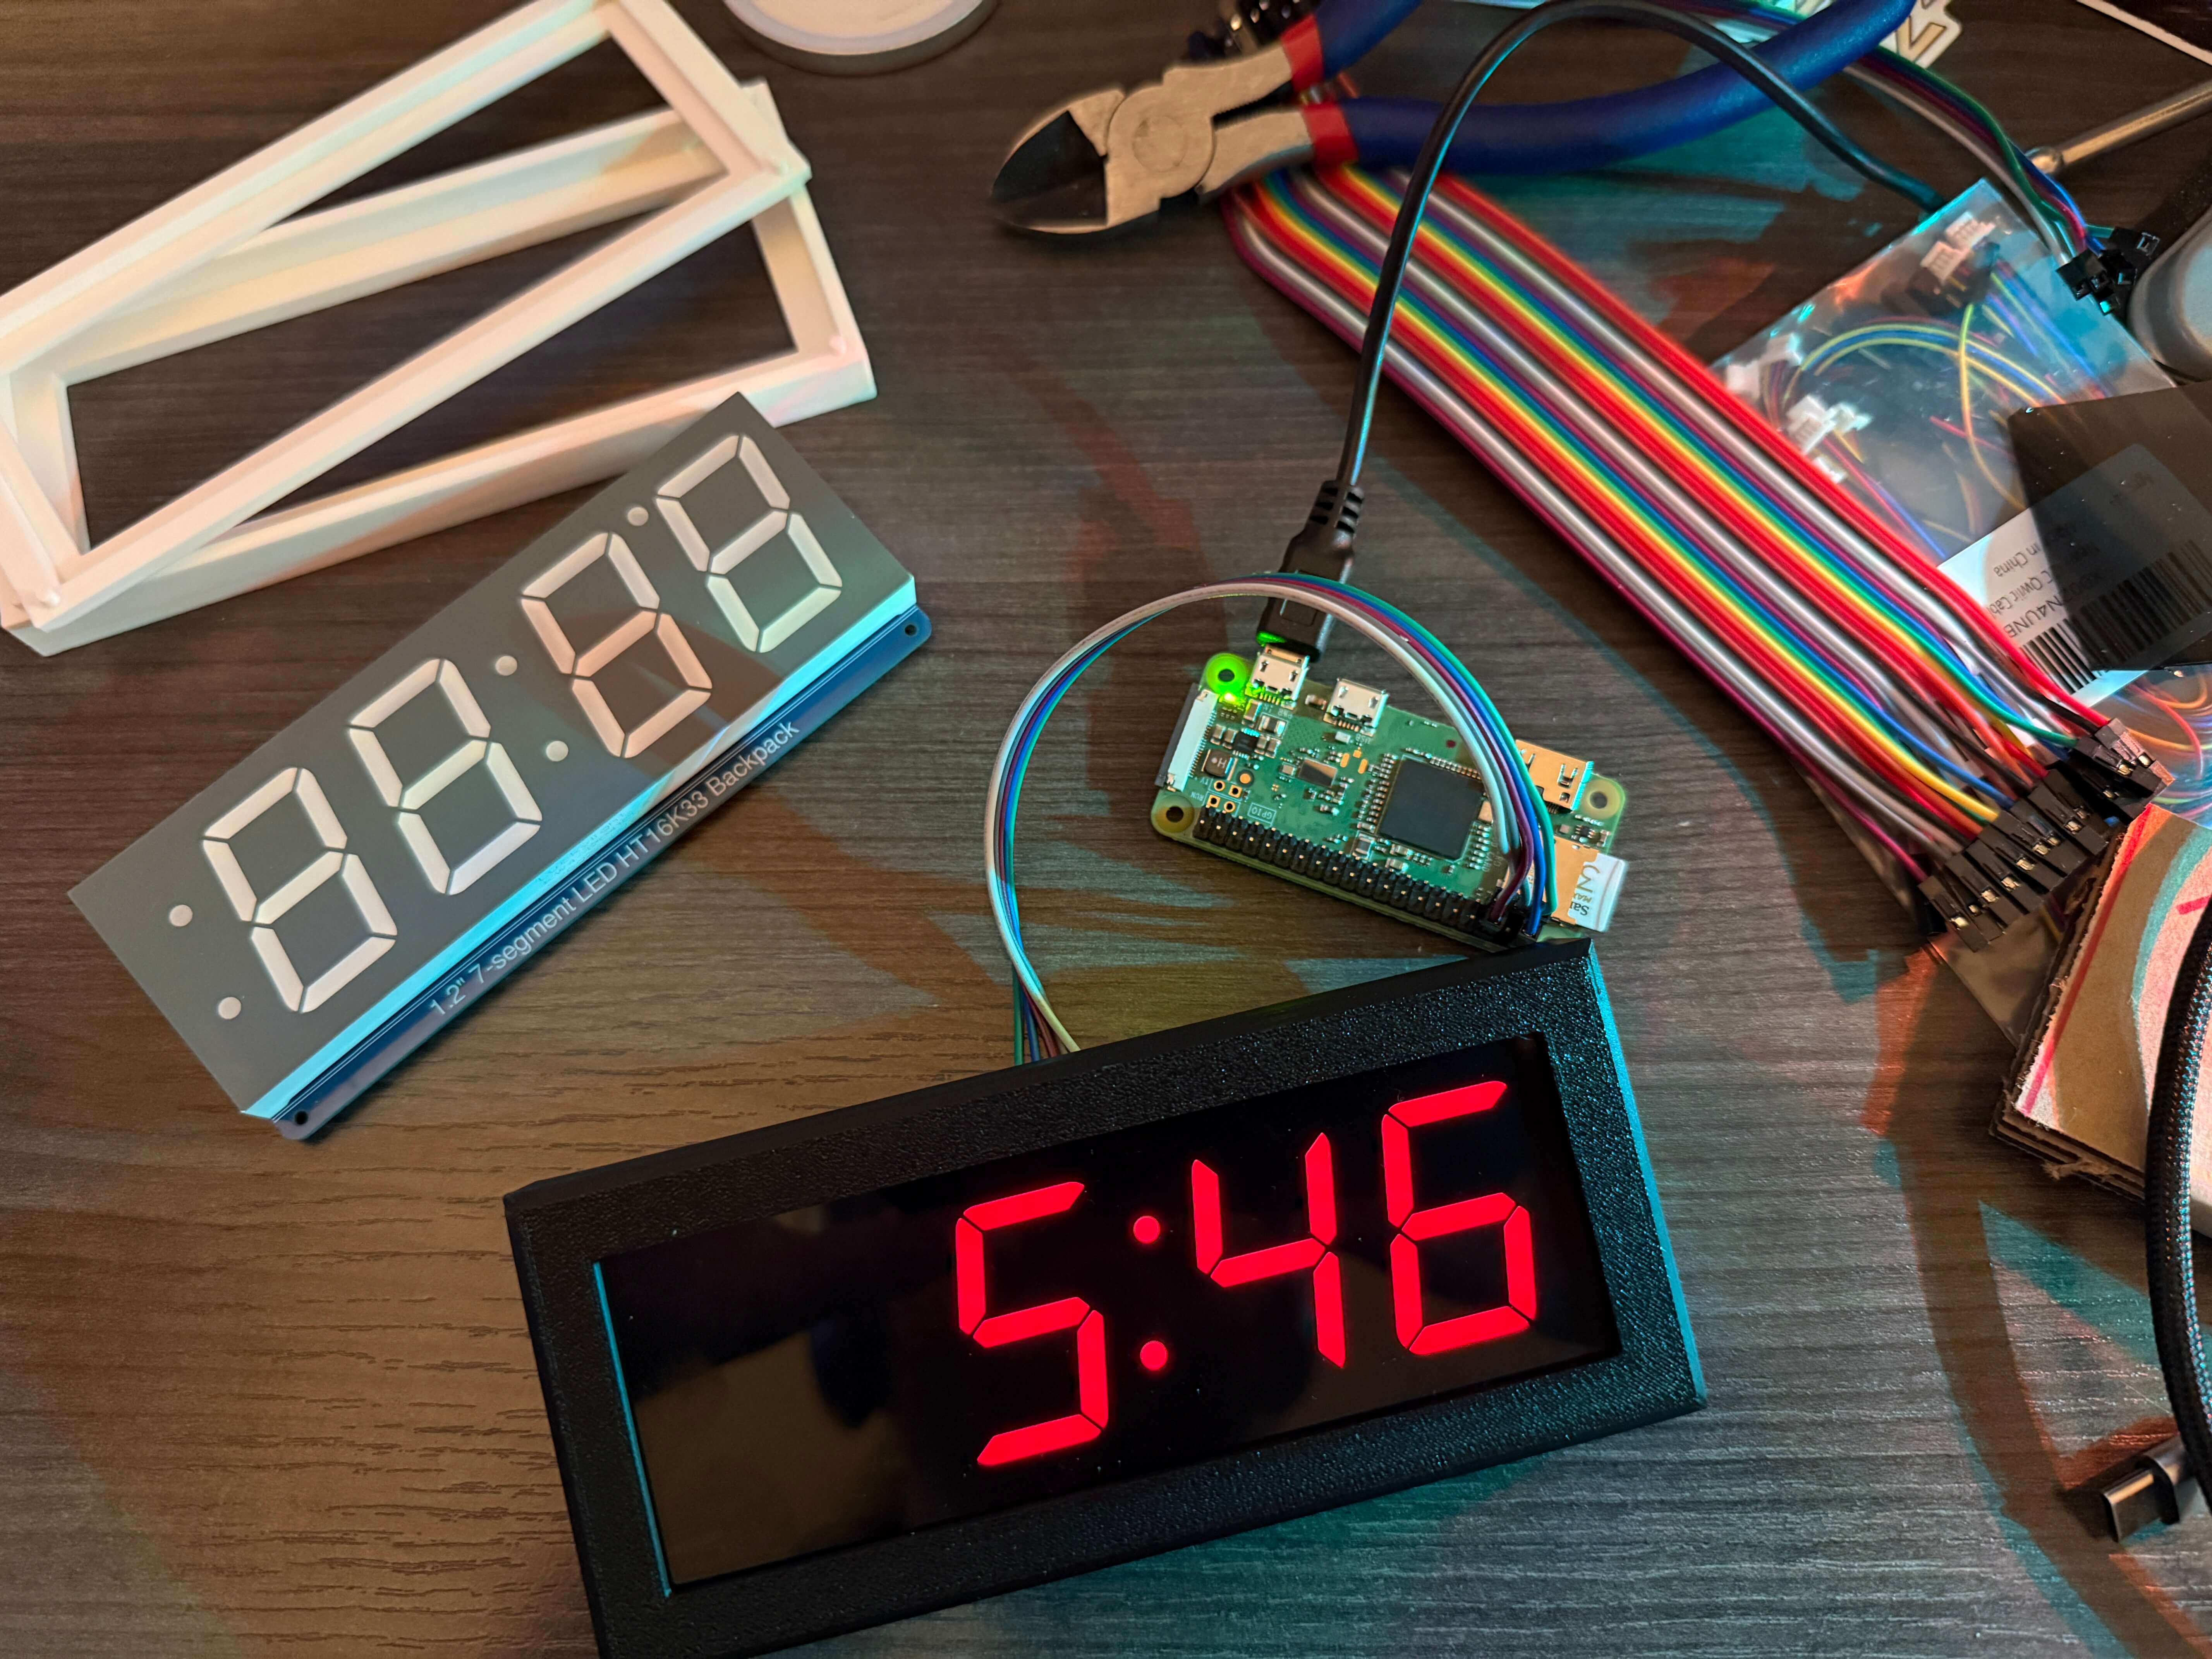
Even at its dimmest, the Adafruit display is hella bright at night. This was me experimenting with combinations of smoked acrylic and NDF material.
Credit: Lee Hutchinson
Even at its dimmest, the Adafruit display is hella bright at night. This was me experimenting with combinations of smoked acrylic and NDF material. Credit: Lee Hutchinson
B&H Photo came to the rescue, as it has rolls of neutral density filter material for relatively cheap. This proved fragile and very prone to collecting fingerprints, though, so I ended up pairing the NDF with some smoked acrylic, which meant finding a vendor that would sell me small quantities of cut-to-size acrylic material. (I actually found two—this place and this one.)
One acrylic piece plus one strip of 12 percent NDF knocked the display back to just about the perfect dimness, comparable to my existing cheap bedside clock.
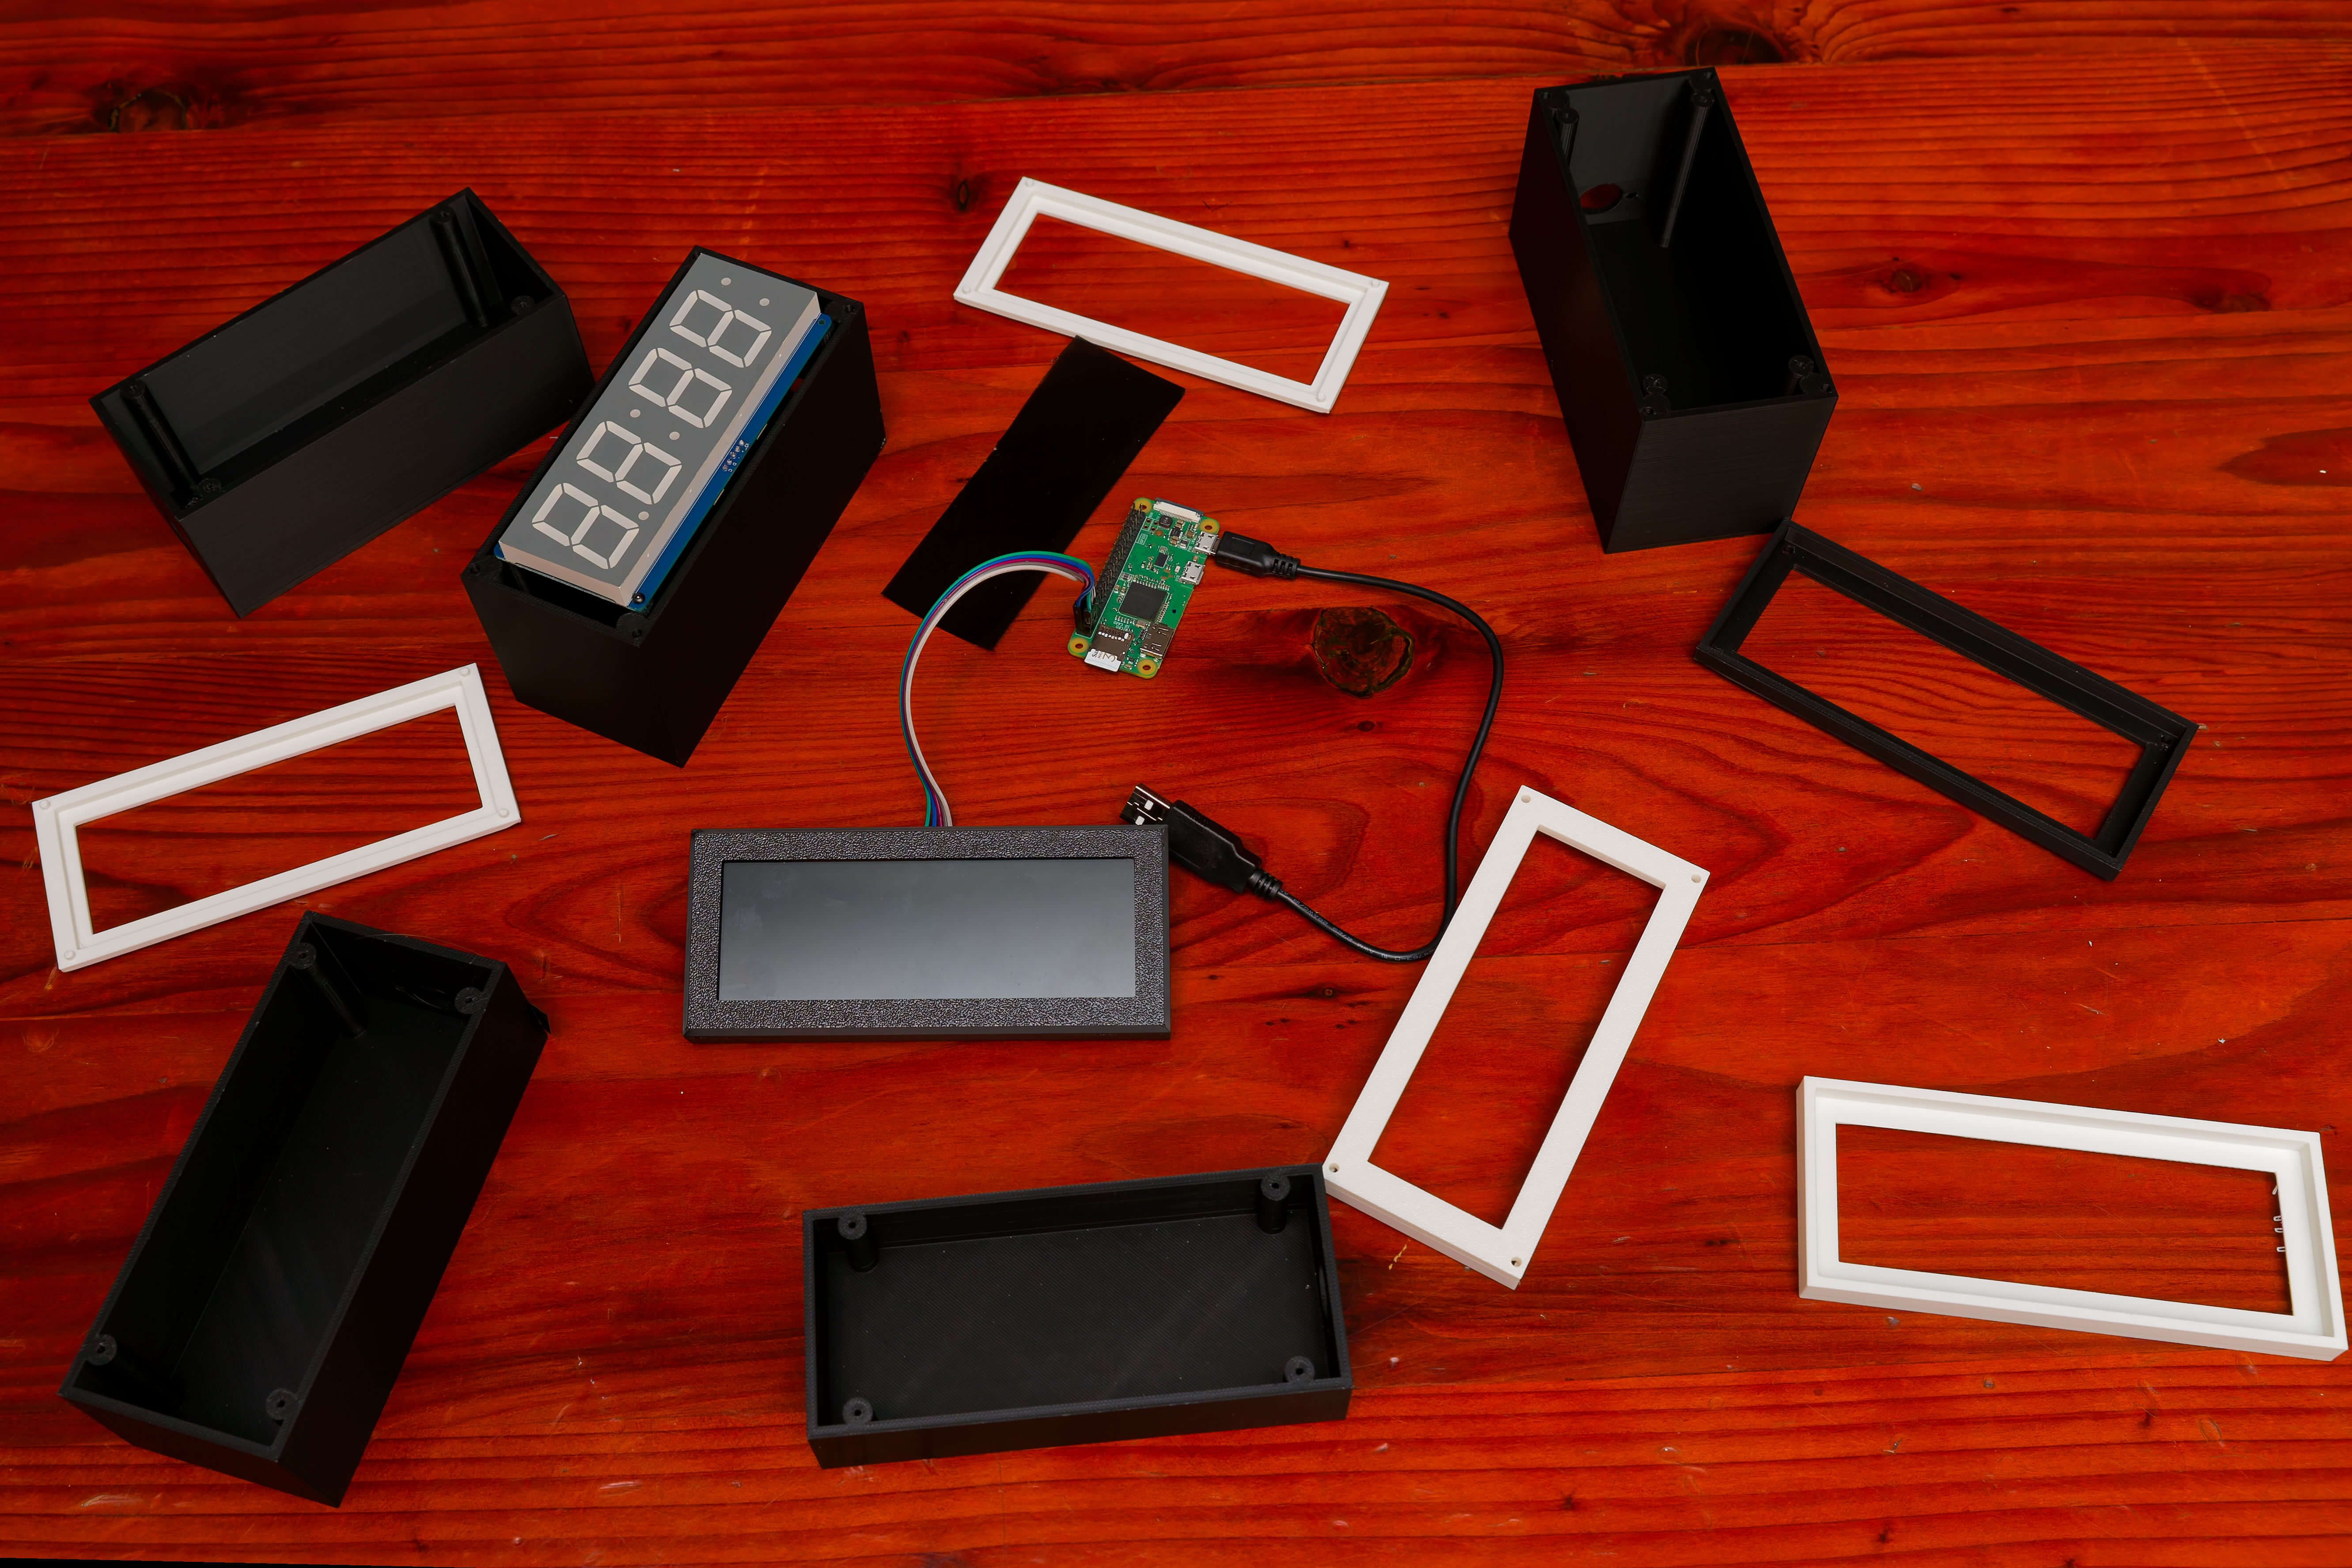
The next issue was iterating through all the model changes necessary to incorporate the acrylic and NDF into the clock case. I ended up (via LLM MCP magic) splitting the existing design into a few more separate pieces and cutting out a pocket for the acrylic face; I also had the LLM add guide pins and holes for each piece. This was all doable without creating any overhangs, so the whole thing still prints without needing supports.
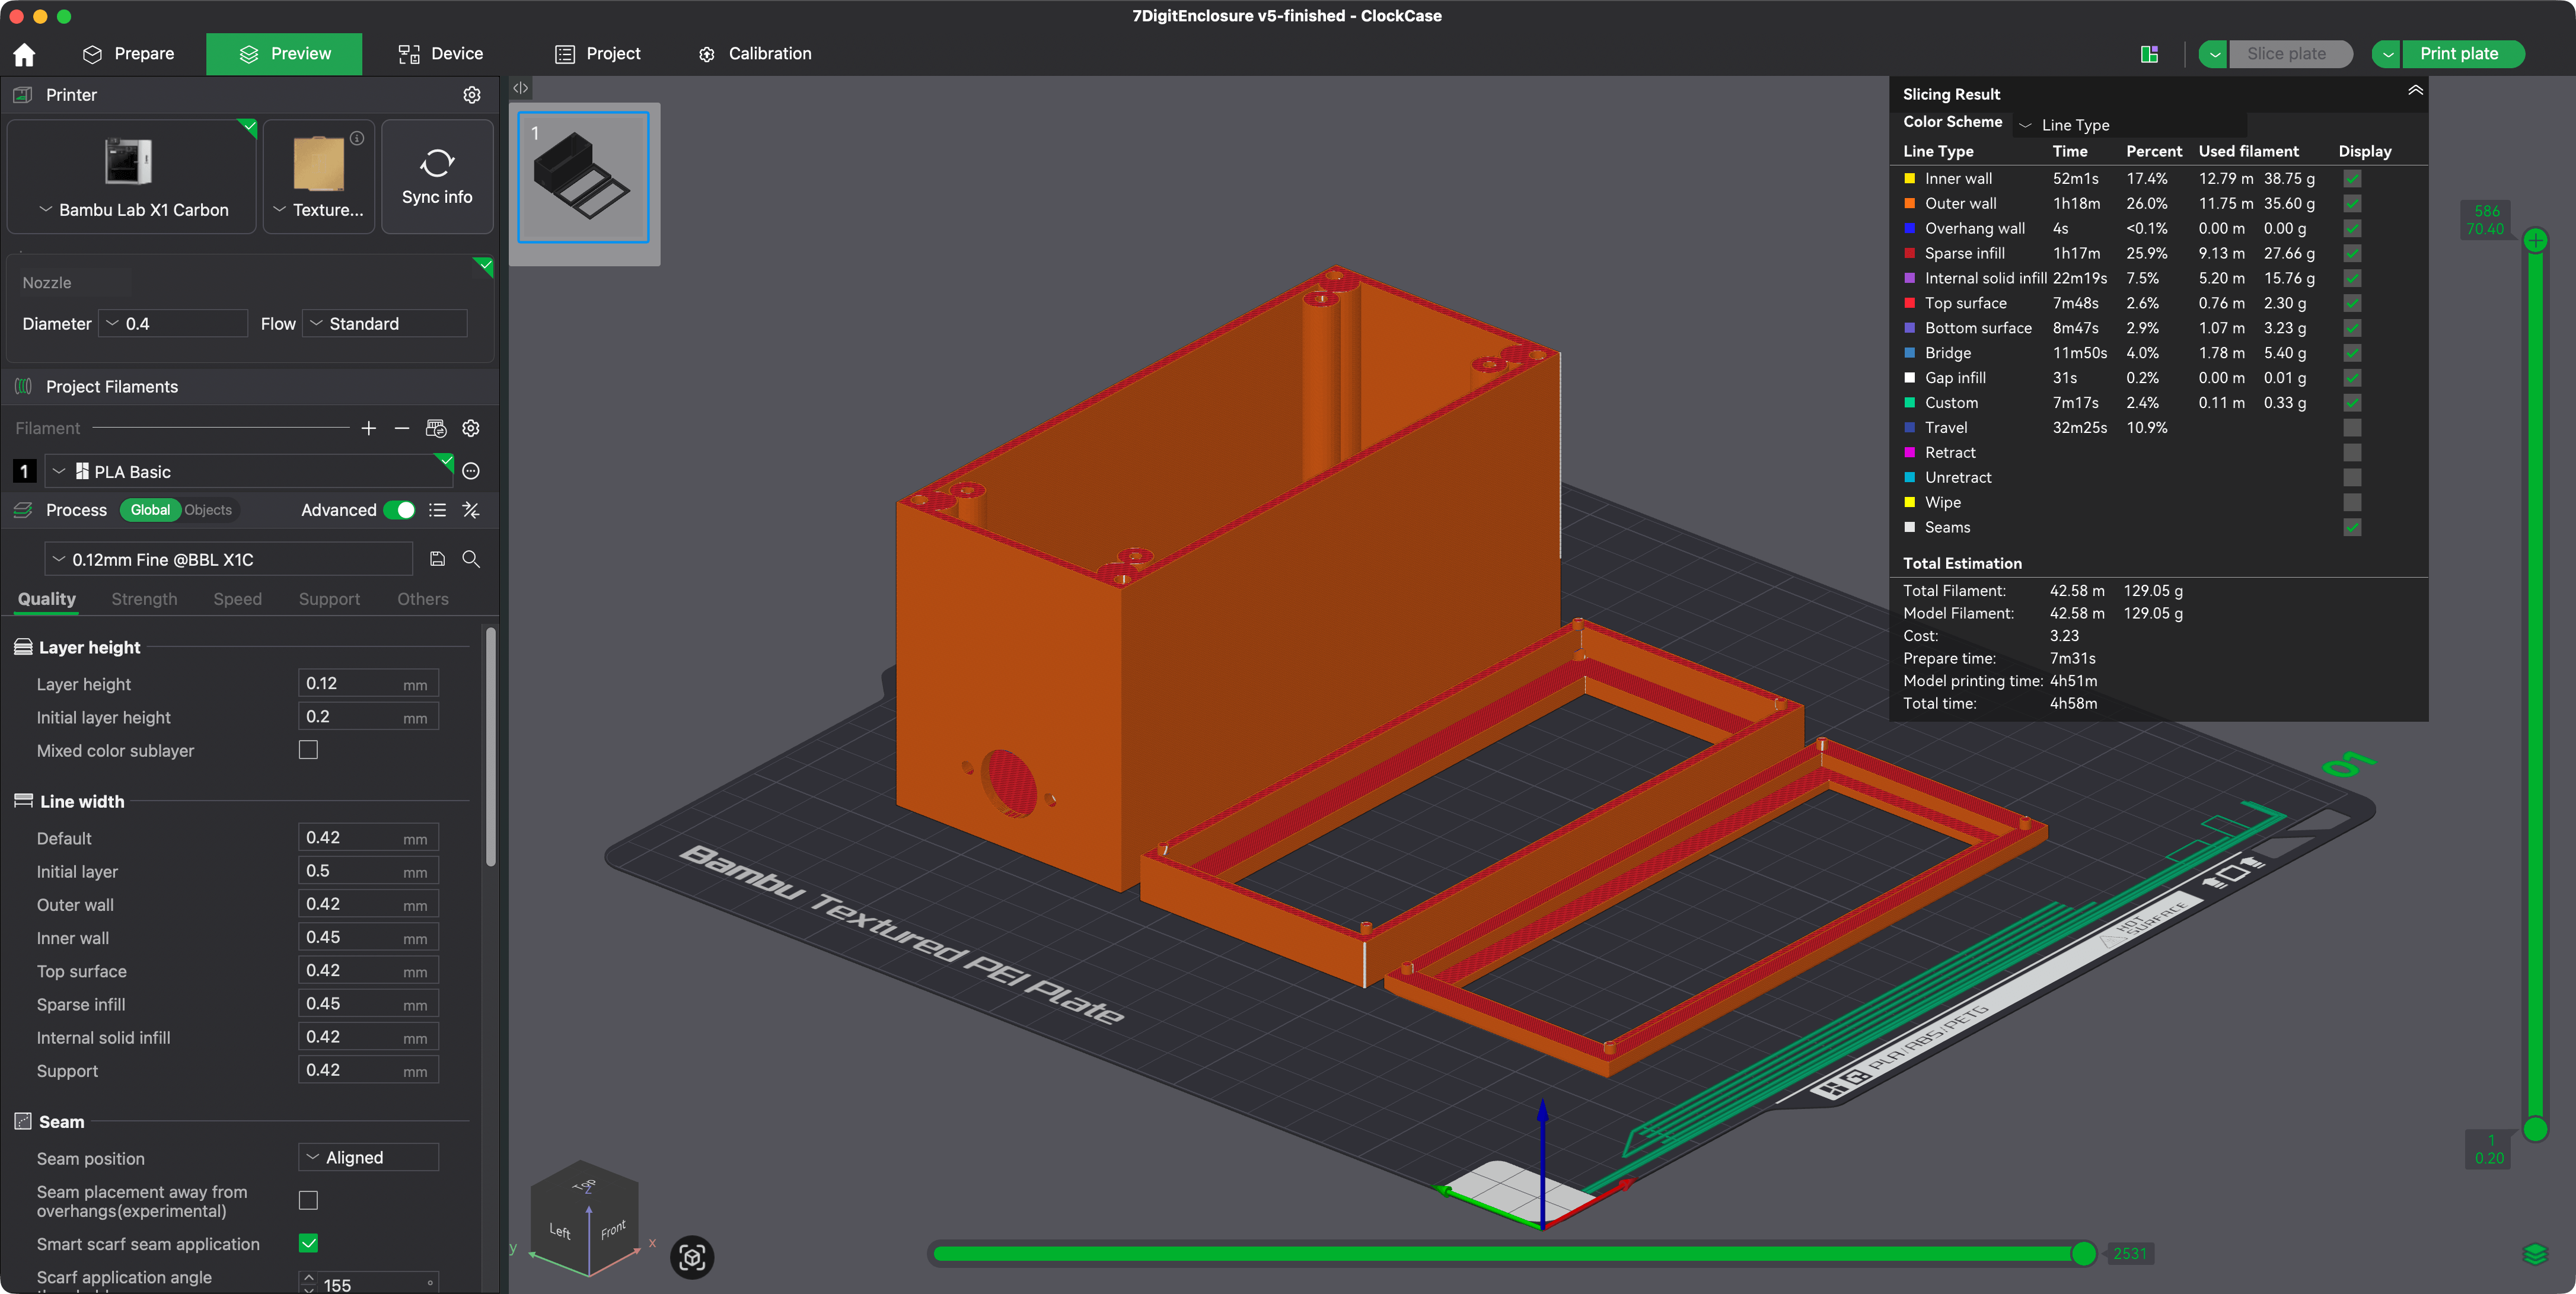
The entire enclosure, sliced and ready to print.
Credit: Lee Hutchinson
The entire enclosure, sliced and ready to print. Credit: Lee Hutchinson
I iterated through at least three major revisions of the whole thing, and I’m very happy with the endpoint I arrived at. The final version mostly holds itself together, though the front bezel requires either some electrical tape or a couple dabs of superglue to stay attached. I could fix this by altering the guide pins so they snap in instead of merely sitting there, but tape works well enough for me.
The hour’s now come
The end result exactly matched my expectations—the best criterion for success that I can think of. With an LLM providing the heavy code lifting and the CAD work, I think I spent more time waiting on supplies to arrive than on anything else—something attributable to my lack of planning and the ease of next-day delivery.
Here’s the finished device, first in pieces and then all assembled:
And, look! HomeKit support!
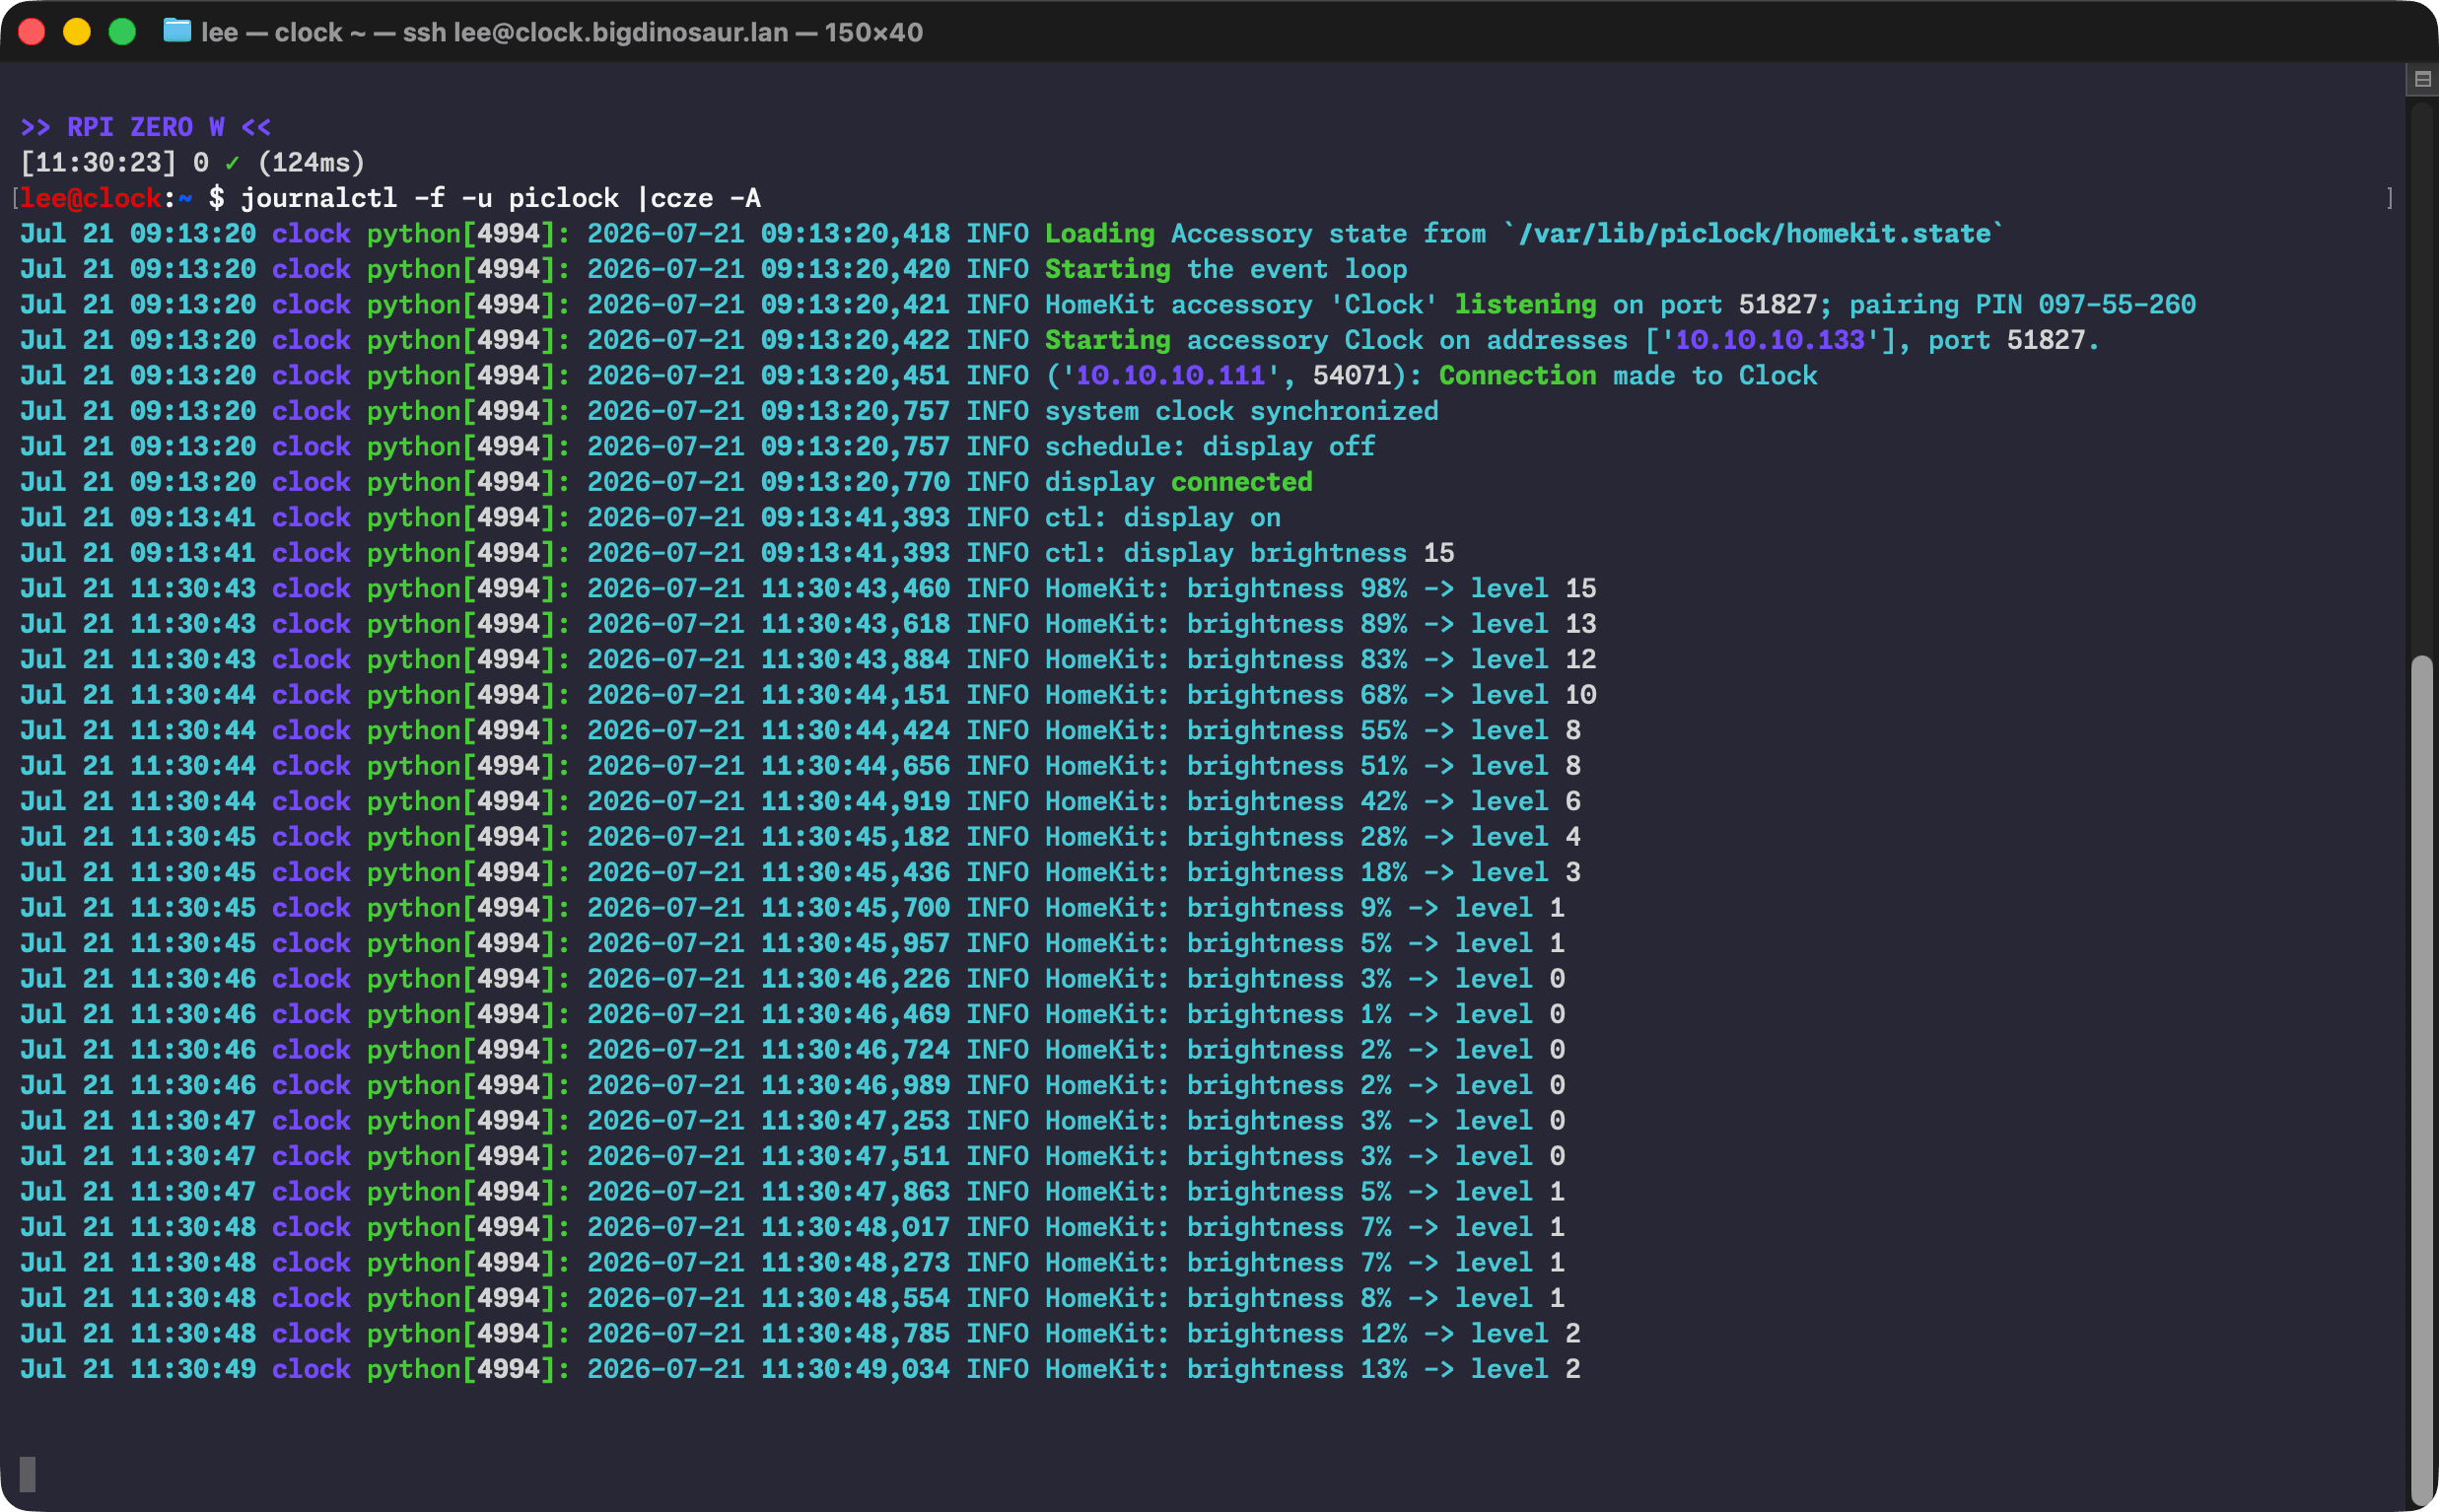
Tailing the clock systemd service’s journal while I move the brightness slider in the iOS Home app. The seven-segment display’s 16 brightness levels are automatically mapped to the slider’s 0–100 percent scale. Display response is basically instantaneous.
Credit: Lee Hutchinson
Tailing the clock systemd service’s journal while I move the brightness slider in the iOS Home app. The seven-segment display’s 16 brightness levels are automatically mapped to the slider’s 0–100 percent scale. Display response is basically instantaneous. Credit: Lee Hutchinson
And it deploys!
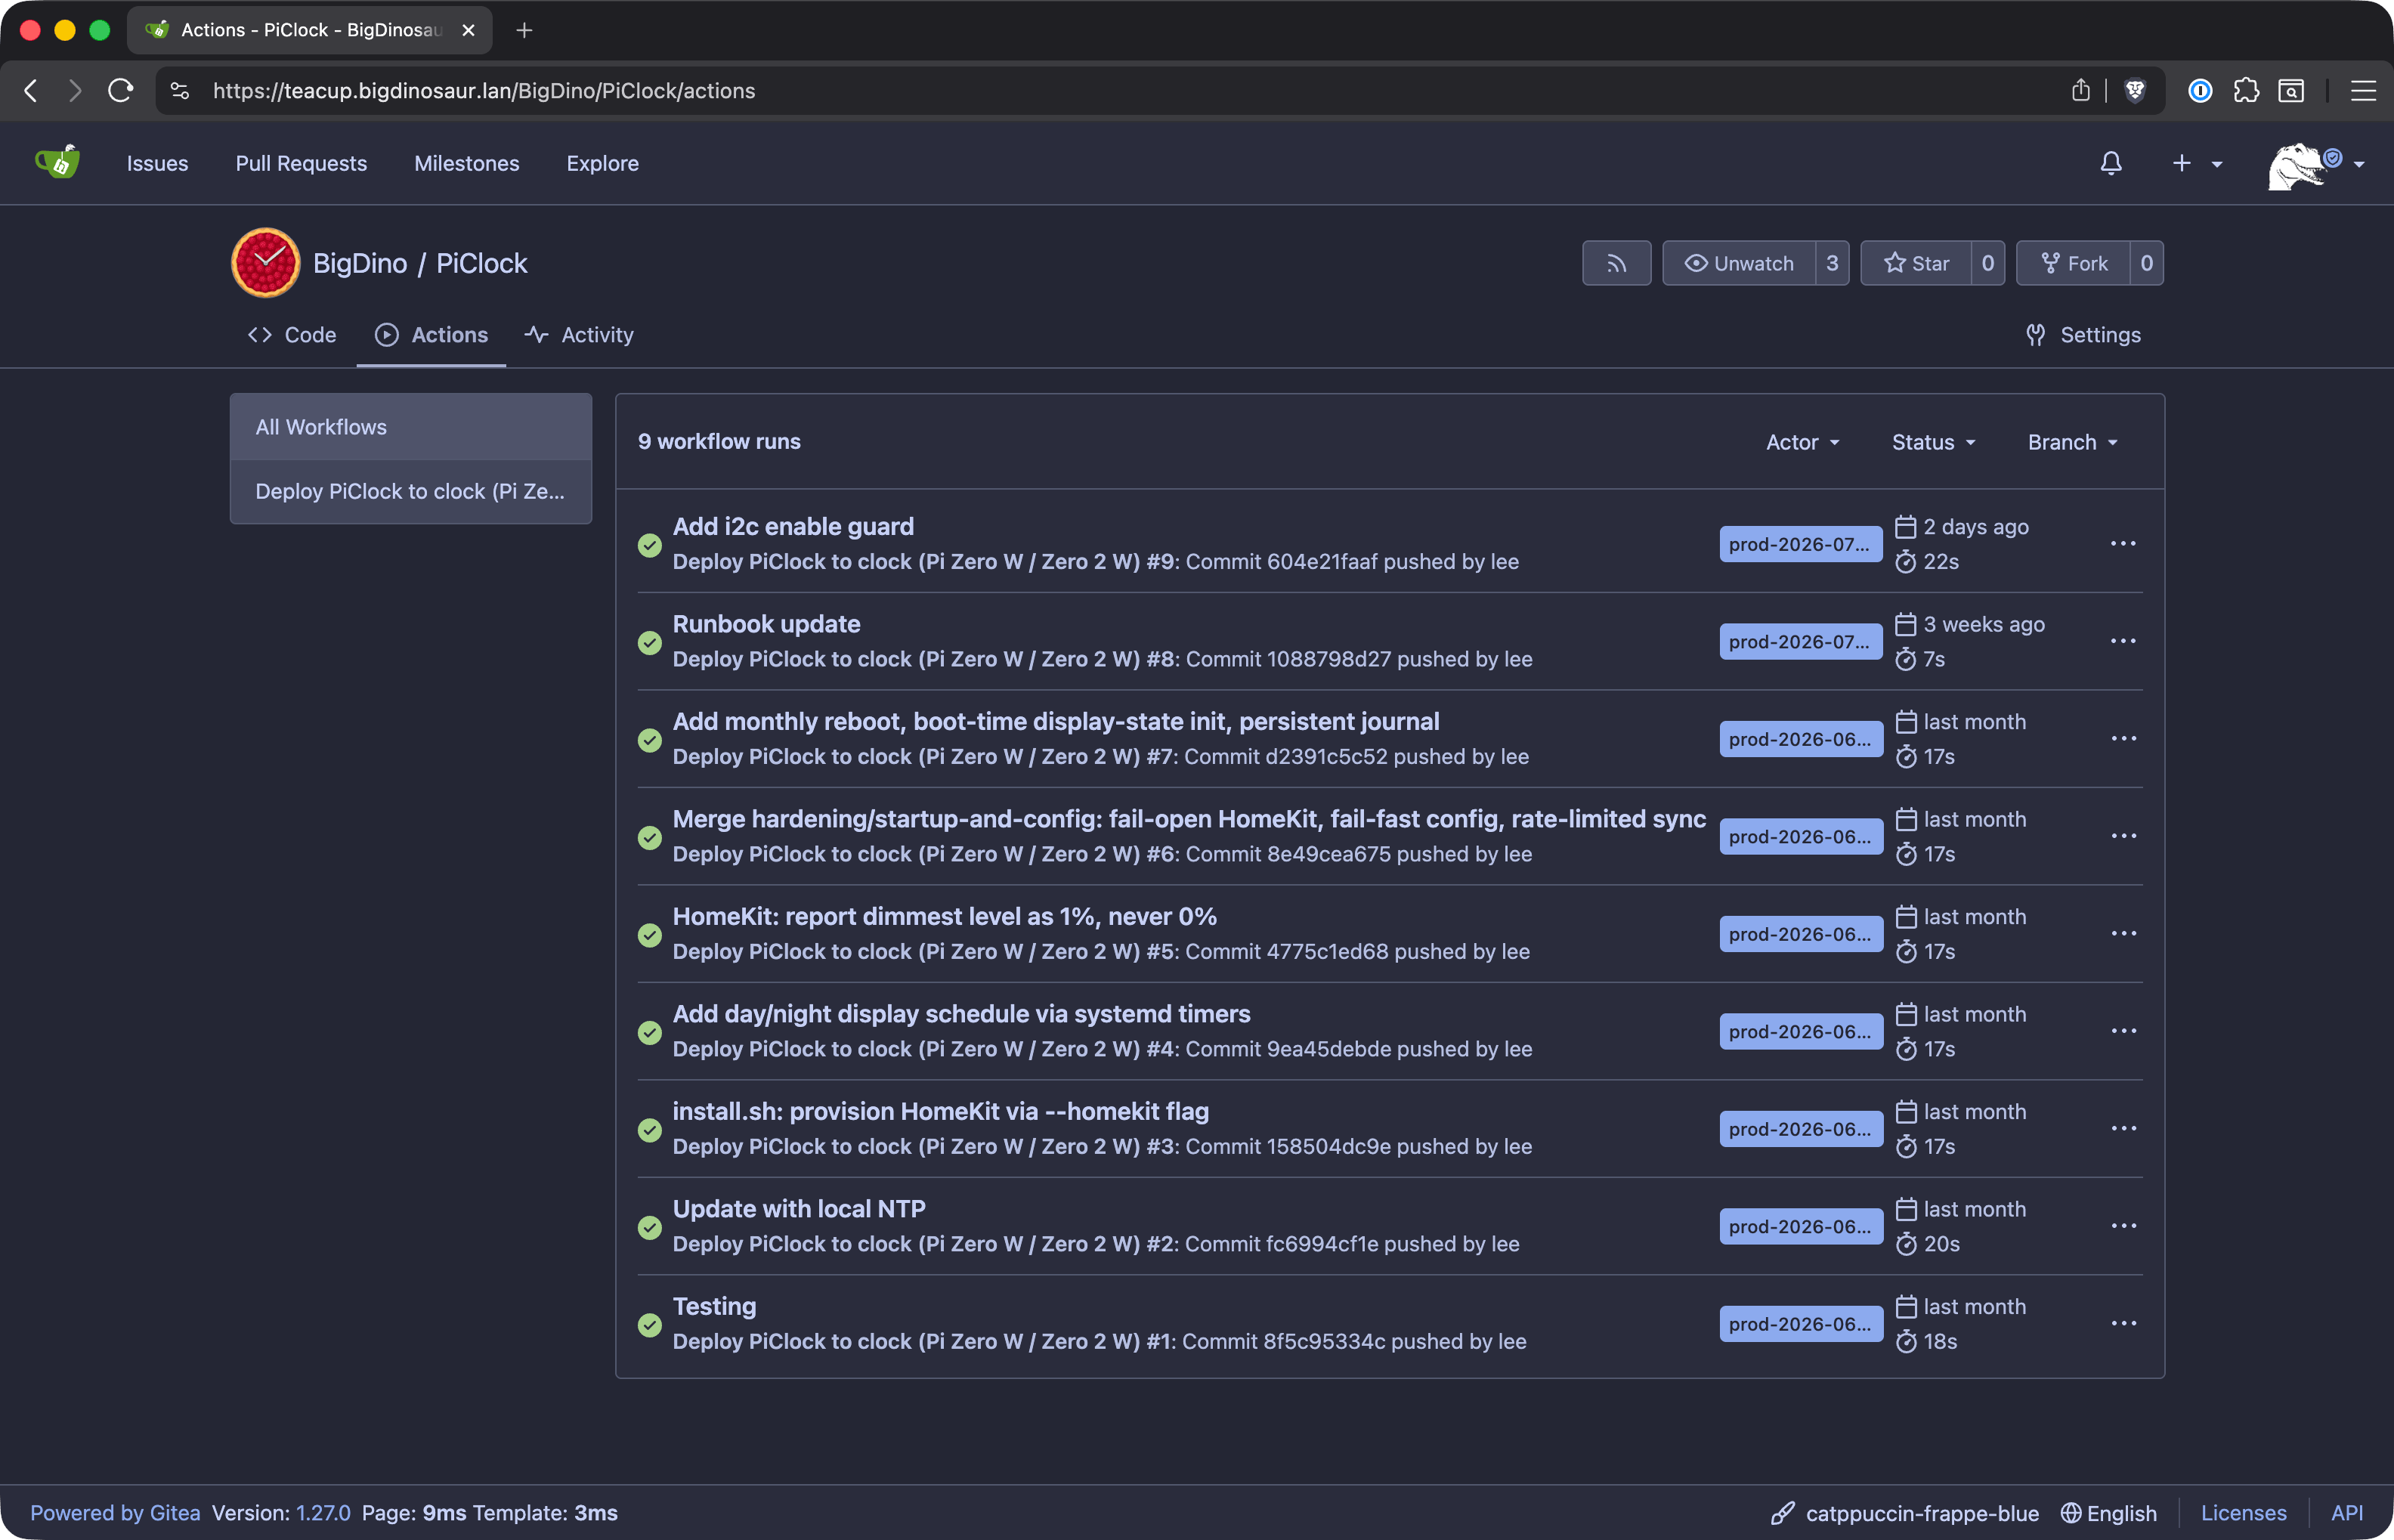
I run a LAN-only Gitea server because it’s fun, and because deploying things via Gitea Actions makes me feel like a real sysadmin.
Credit: Lee Hutchinson
I run a LAN-only Gitea server because it’s fun, and because deploying things via Gitea Actions makes me feel like a real sysadmin. Credit: Lee Hutchinson
For anyone who may be thinking of following in my footsteps and forging their own 3D-printed bedside embodiment of recklessly unchecked horological overindulgence—perhaps because you have no adults nearby to tell you not to—there are many different ways to approach the task. The use of LLM code is a choice, obviously, and you can make a different one. Raspberry Pi units of any flavor are extremely scarce right now, so someone with better coding chops or with a more outsized sense of adventure might try this with an ESP32 microcontroller instead of a Pi Zero. In fact, the ESP32 is probably the smarter choice for controlling the Adafruit display, and it comes with Wi-Fi and I2C support without dragging Debian along for the ride.
Either way, this was a great hobby project. I got to solder stuff, which was both harder and easier than I expected. I used miles of filament while printing and re-printing different iterations of the case. And I learned a ton.
I spent… well, a lot more money than I intended to, between a couple of false starts, the soldering iron and kit, and extra supplies for redundancy and do-overs. And I could have compromised and gotten a regular clock that does most of what I want. But the experience was fun, and the joy of having exactly what I want is priceless.
For folks wanting to see how the code works or to adapt anything in it to their own needs, here’s the repo. Enjoy! I’ll just be over here, doing CI/CD with my bedroom clock, which is totally a normal and fine thing that normal people do!

Lee is the Senior Technology Editor, and oversees story development for the gadget, culture, IT, and video sections of Ars Technica. A long-time member of the Ars OpenForum with an extensive background in enterprise storage and security, he lives in Houston.